> ## Documentation Index
> Fetch the complete documentation index at: https://docs.retellai.com/llms.txt
> Use this file to discover all available pages before exploring further.
# Configure global settings
> Configure global settings for a Retell conversation flow agent — voice, language, LLM, denoising, and other agent-level options on the empty canvas.
## Agent Global Settings
Click on the empty canvas and click settings to access the global settings. Here's where you set a lot of agent-level settings.
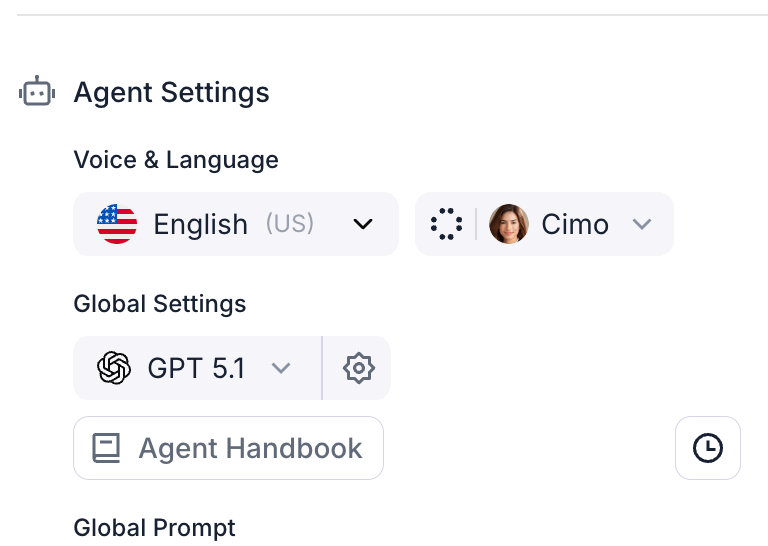
1. Open the voice selection dropdown menu:
 2. Listen to the available voice samples and select the voice you want to use for the agent:
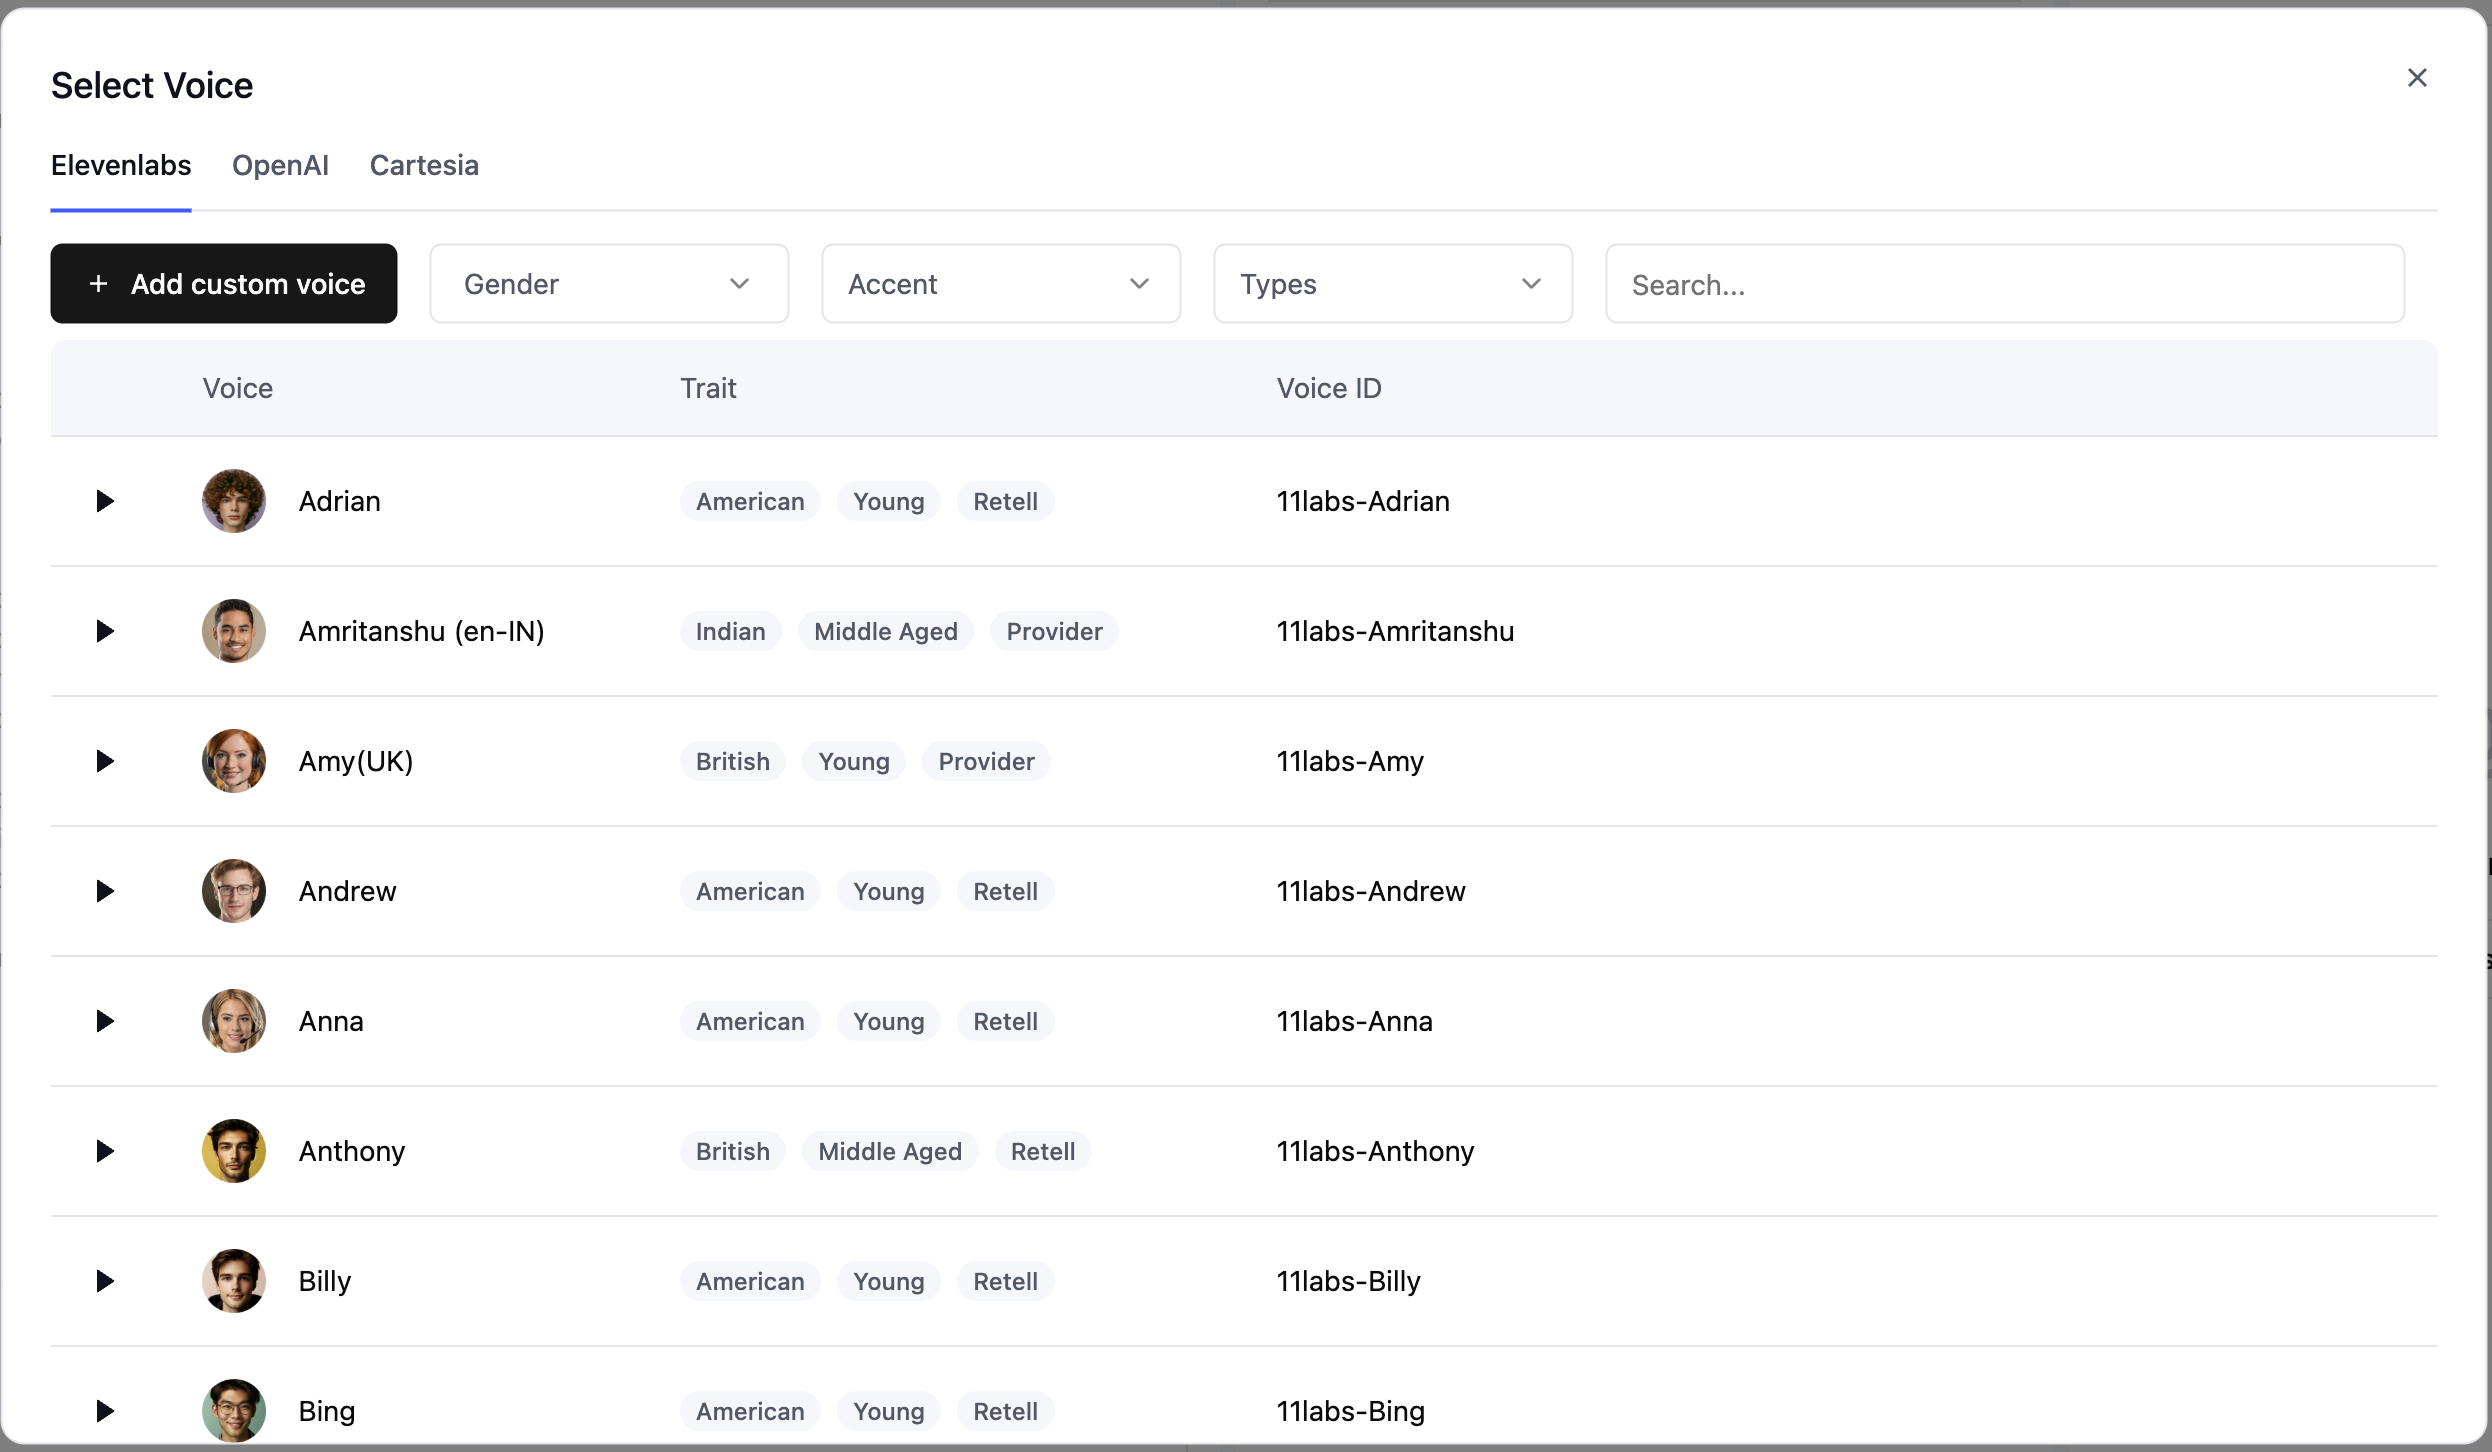 **Custom Voices**: You can also add voices from the ElevenLabs community or clone voices by clicking "Add custom voice". Learn more in our [voice configuration guide](/build/voice).
3. You can also adjust a couple of voice settings:
* voice temperature to make the voice more variant or stable.
* voice speed to make the agent speak faster or slower.
* voice volume to make the agent speak louder or quieter.
* voice model (if applicable): when using certain voice providers, you can choose between different models. Check out the dashboard for detailed nuances of each model.
Pick the language(s) the agent will understand and speak. This affects speech recognition, voice pronunciation, and the language the agent responds in — you do not need to add a "respond in X" instruction to your prompt.
To support multiple languages, switch the selector to **Multiselect** and pick the specific languages you want; for best accuracy, prefer a single language when possible. See [Set language for your agent](/agent/language) and [Configure a multilingual agent](/agent/multilingual) for details.
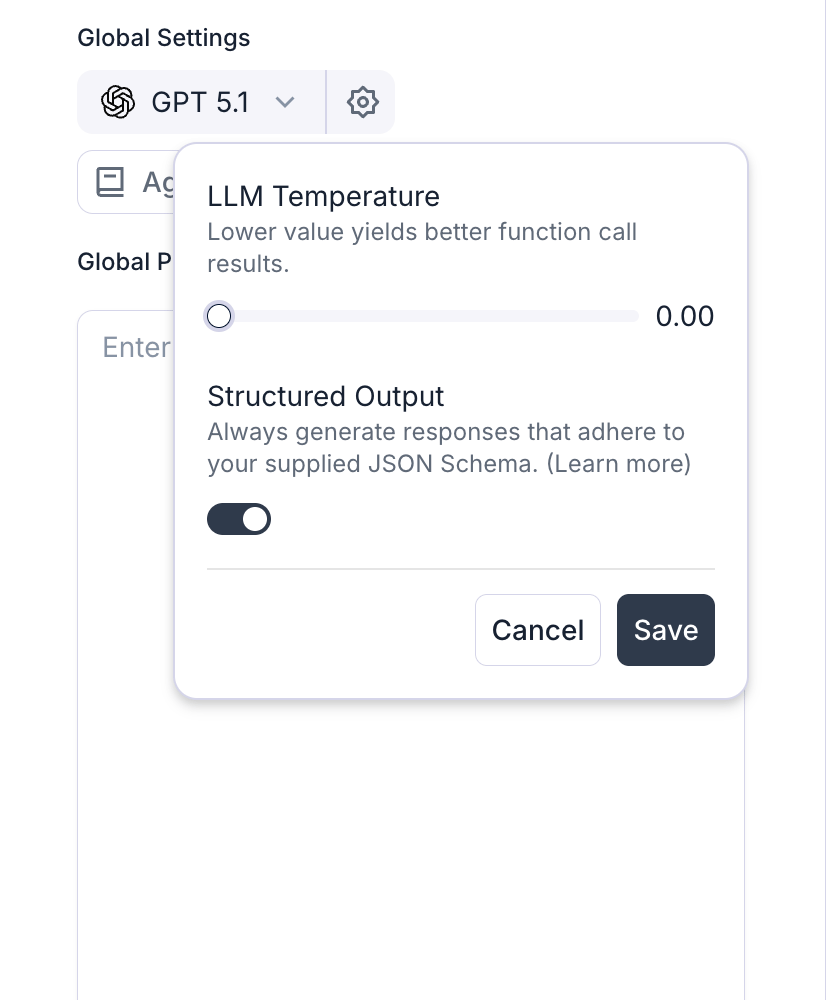
Select the model you want to use for the agent. The dropdown includes the standard language models plus a **Speech to speech** group (such as `gpt-realtime`), a single model that takes audio in and returns audio directly instead of running a separate text step. Optionally you can tune the LLM temperature to make answers more variant or more stable.
We recommend starting with GPT-4.1, which offers an optimal balance of:
* Response quality
* Latency
* Cost-effectiveness
With a standard model you can override the model on individual [nodes](/build/conversation-flow/node). Speech to speech runs one model across the whole flow, so per-node model overrides are hidden while it's selected. Switching a flow to or from Speech to speech also moves the agent to a compatible voice automatically, since Speech to speech needs a realtime-capable voice.
**Custom Voices**: You can also add voices from the ElevenLabs community or clone voices by clicking "Add custom voice". Learn more in our [voice configuration guide](/build/voice).
3. You can also adjust a couple of voice settings:
* voice temperature to make the voice more variant or stable.
* voice speed to make the agent speak faster or slower.
* voice volume to make the agent speak louder or quieter.
* voice model (if applicable): when using certain voice providers, you can choose between different models. Check out the dashboard for detailed nuances of each model.
Pick the language(s) the agent will understand and speak. This affects speech recognition, voice pronunciation, and the language the agent responds in — you do not need to add a "respond in X" instruction to your prompt.
To support multiple languages, switch the selector to **Multiselect** and pick the specific languages you want; for best accuracy, prefer a single language when possible. See [Set language for your agent](/agent/language) and [Configure a multilingual agent](/agent/multilingual) for details.
Select the model you want to use for the agent. The dropdown includes the standard language models plus a **Speech to speech** group (such as `gpt-realtime`), a single model that takes audio in and returns audio directly instead of running a separate text step. Optionally you can tune the LLM temperature to make answers more variant or more stable.
We recommend starting with GPT-4.1, which offers an optimal balance of:
* Response quality
* Latency
* Cost-effectiveness
With a standard model you can override the model on individual [nodes](/build/conversation-flow/node). Speech to speech runs one model across the whole flow, so per-node model overrides are hidden while it's selected. Switching a flow to or from Speech to speech also moves the agent to a compatible voice automatically, since Speech to speech needs a realtime-capable voice.
 Here's where you specify the agent's persona, identity, guardrails, etc. This set of text will be available in every node, and will influence all response generation.
Here's where you can supply contexts to the agent via documents, URLs, or texts. Read more at [Knowledge Base Guide](/build/knowledge-base).
Here are a lot of options that allow you to finetune how your agent interacts with the user.
* Background sound: select a background sound that plays throughout the whole call to mimic an environment like a call center, making the conversation more humanlike and engaging.
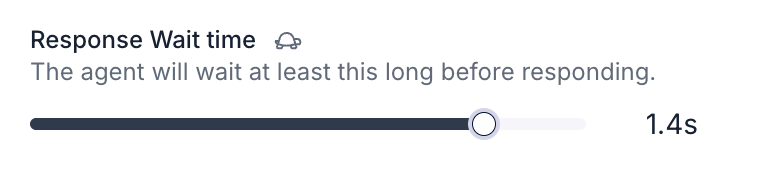
* Response Wait time: how long the agent deliberately waits after the caller stops speaking before it responds, from no added wait (the default) up to 5.5 seconds, shown in milliseconds below one second and in seconds above it. This is a minimum wait: the agent holds off longer when it detects the caller hasn't finished their thought. Raise it for callers who speak slowly or pause mid-sentence, but note the full wait is added to every turn, so a higher value makes the agent feel slower. In the API this is the `responsiveness` field, from 0 to 1 with a default of 1: a value of 1 adds no wait, 0.9 adds 1 second, and each further 0.1 lower adds 0.5 seconds, up to 5.5 seconds at 0 (values between 0.9 and 1 taper between 0 and 1 second). Check "Dynamically adjust based on user input" to let the agent tune its wait to the caller's pace during the call. Individual nodes can override this setting in their [speech overrides](/build/conversation-flow/conversation-node).
Here's where you specify the agent's persona, identity, guardrails, etc. This set of text will be available in every node, and will influence all response generation.
Here's where you can supply contexts to the agent via documents, URLs, or texts. Read more at [Knowledge Base Guide](/build/knowledge-base).
Here are a lot of options that allow you to finetune how your agent interacts with the user.
* Background sound: select a background sound that plays throughout the whole call to mimic an environment like a call center, making the conversation more humanlike and engaging.
* Response Wait time: how long the agent deliberately waits after the caller stops speaking before it responds, from no added wait (the default) up to 5.5 seconds, shown in milliseconds below one second and in seconds above it. This is a minimum wait: the agent holds off longer when it detects the caller hasn't finished their thought. Raise it for callers who speak slowly or pause mid-sentence, but note the full wait is added to every turn, so a higher value makes the agent feel slower. In the API this is the `responsiveness` field, from 0 to 1 with a default of 1: a value of 1 adds no wait, 0.9 adds 1 second, and each further 0.1 lower adds 0.5 seconds, up to 5.5 seconds at 0 (values between 0.9 and 1 taper between 0 and 1 second). Check "Dynamically adjust based on user input" to let the agent tune its wait to the caller's pace during the call. Individual nodes can override this setting in their [speech overrides](/build/conversation-flow/conversation-node).
 * Interruption Sensitivity: how fast the agent gets interrupted by user interruptions. Set it lower if you want the agent to be more resilient to background speech or user interruptions.
* Backchanneling: Set up how often and what words the agent uses to acknowledge users.
* Boosted Keywords: Provides some biases towards certain words, making it easier to get recognized. Common ones are brand names, people's names, etc.
* Speech Normalization: convert entities like date, currency, numbers into plain words, which can help prevent issues where audio generated was not pronouncing those right.
* Reminder frequency: how often the agent will remind the user when the user is inactive.
* Pronunciation: [set a pronunciation guide](/build/add-pronunciation) for specific words.
Here are a couple of settings that are more call operation related.
* Voicemail related settings: set up voicemail detection and what to do when voicemail is detected. See more at [Handle Voicemail](/build/handle-voicemail).
* End call on silence: set up so that if the user is inactive for a certain amount of time, the call will be ended.
* Call duration: set up the maximum duration of the call.
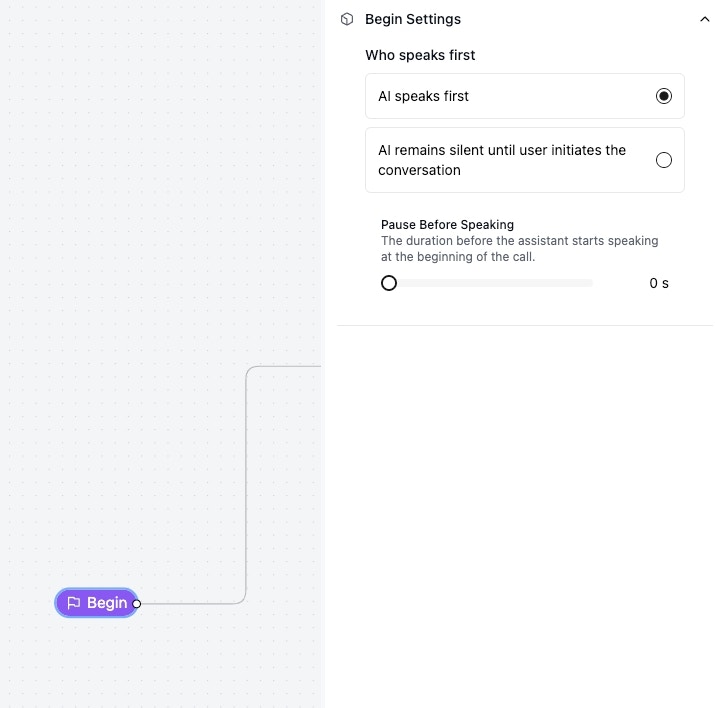
* Pause before speaking: For the beginning of the call, if the agent speaks first, it will wait for the configured duration before speaking, useful to handle scenarios when the user is still picking up the phone.
Probably set up later; read more at [Post Call Extraction Guide](/features/post-call-analysis-overview).
Here's where you can set up whether to opt out of sensitive data storage, and configure webhook settings for receiving call related events.
## Configure Who Speaks First
Click on `begin` icon, and you can select who speaks first in the call.
* Interruption Sensitivity: how fast the agent gets interrupted by user interruptions. Set it lower if you want the agent to be more resilient to background speech or user interruptions.
* Backchanneling: Set up how often and what words the agent uses to acknowledge users.
* Boosted Keywords: Provides some biases towards certain words, making it easier to get recognized. Common ones are brand names, people's names, etc.
* Speech Normalization: convert entities like date, currency, numbers into plain words, which can help prevent issues where audio generated was not pronouncing those right.
* Reminder frequency: how often the agent will remind the user when the user is inactive.
* Pronunciation: [set a pronunciation guide](/build/add-pronunciation) for specific words.
Here are a couple of settings that are more call operation related.
* Voicemail related settings: set up voicemail detection and what to do when voicemail is detected. See more at [Handle Voicemail](/build/handle-voicemail).
* End call on silence: set up so that if the user is inactive for a certain amount of time, the call will be ended.
* Call duration: set up the maximum duration of the call.
* Pause before speaking: For the beginning of the call, if the agent speaks first, it will wait for the configured duration before speaking, useful to handle scenarios when the user is still picking up the phone.
Probably set up later; read more at [Post Call Extraction Guide](/features/post-call-analysis-overview).
Here's where you can set up whether to opt out of sensitive data storage, and configure webhook settings for receiving call related events.
## Configure Who Speaks First
Click on `begin` icon, and you can select who speaks first in the call.