

Before you start
- A Retell account with an API key, configured agent, and outbound phone number
- Access to the target Notion database and permission to authorize integrations and create database automations
- The Retell setup wizard for Notion, supplied by your integration administrator
Database properties
Use these properties for calling and post-call results. The consent property can use any name you choose — keep it consistent between the database and the setup wizard.Prepare your database
1
Create the call table
Open or create a Notion database with the properties listed above.Add phone numbers with a country code, such as 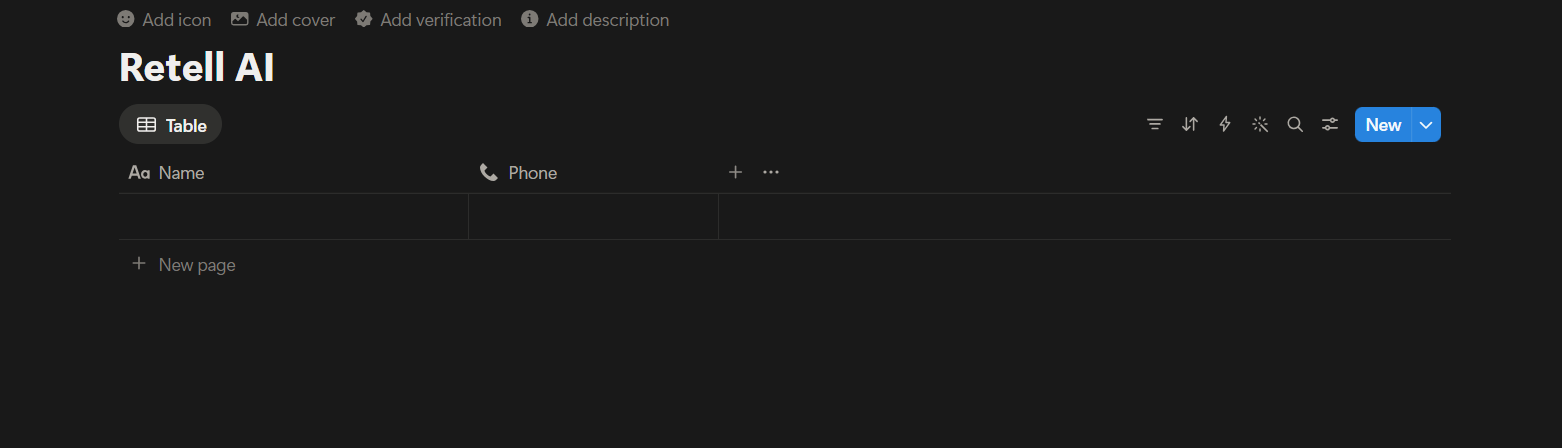
+15551234567, and add a Checkbox property for call consent. You can name it anything — for example, Call allowed.Connect Retell and Notion
1
Open the setup wizard
Open the Retell connection and select Learn more.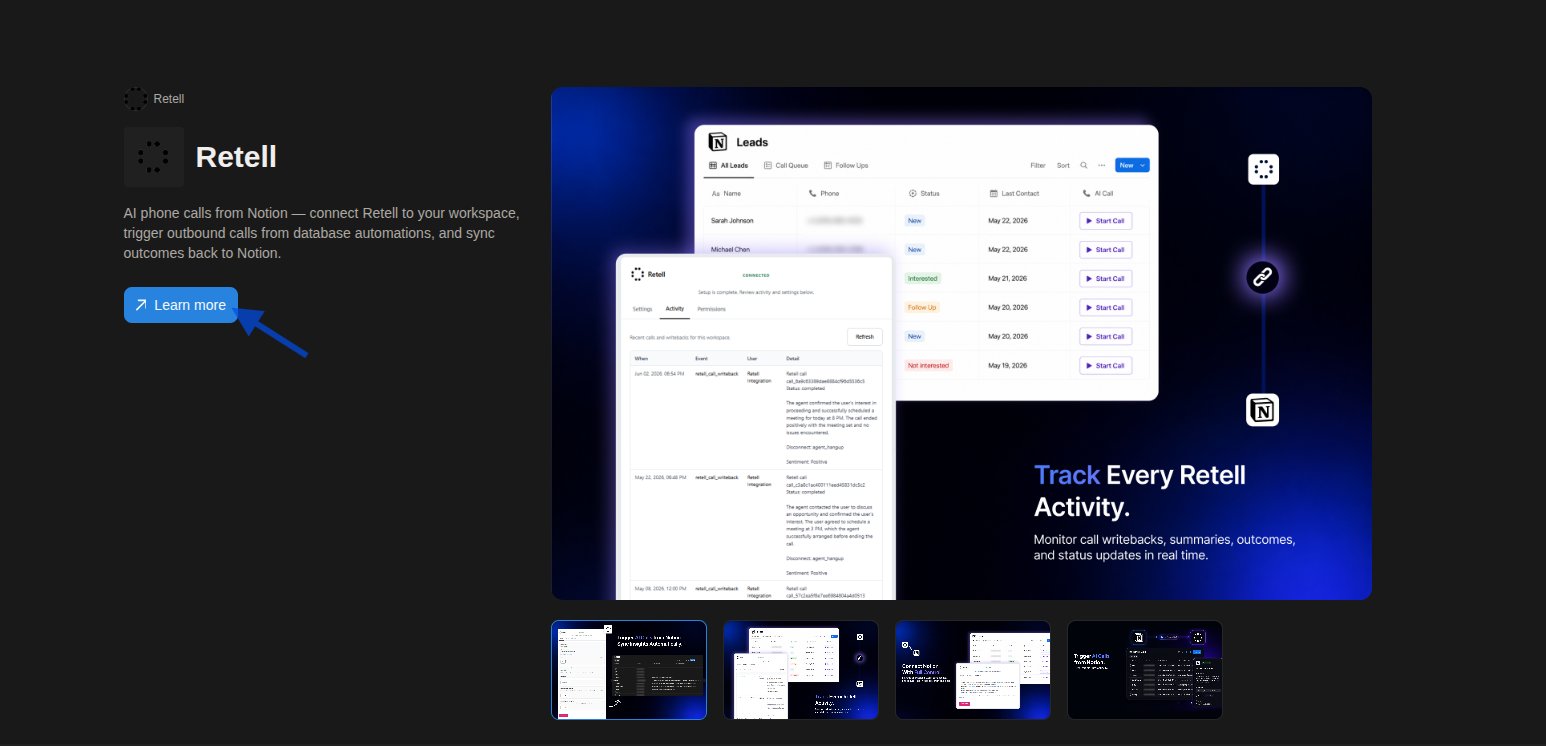
2
Sign in to Retell
Open the Retell setup wizard for Notion and select Sign in. Use the Retell account you want to connect.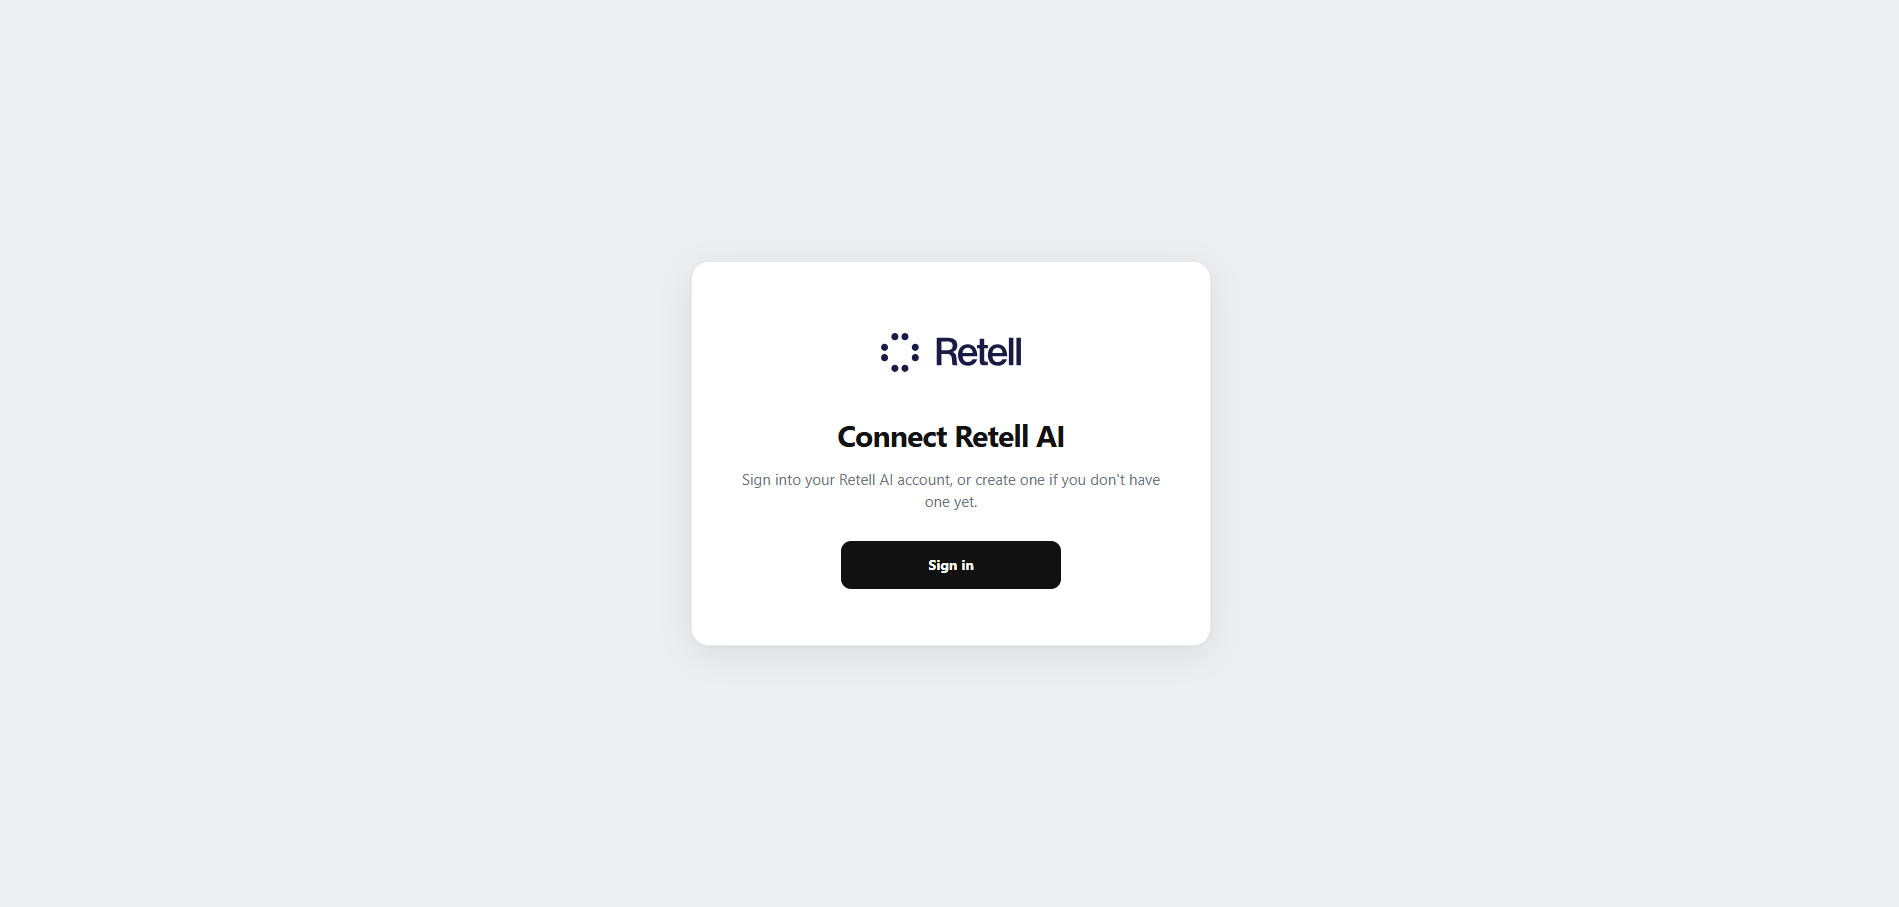
3
Connect your Notion workspace
Review the data transfer notice, select the acknowledgment checkbox, and select Connect Notion.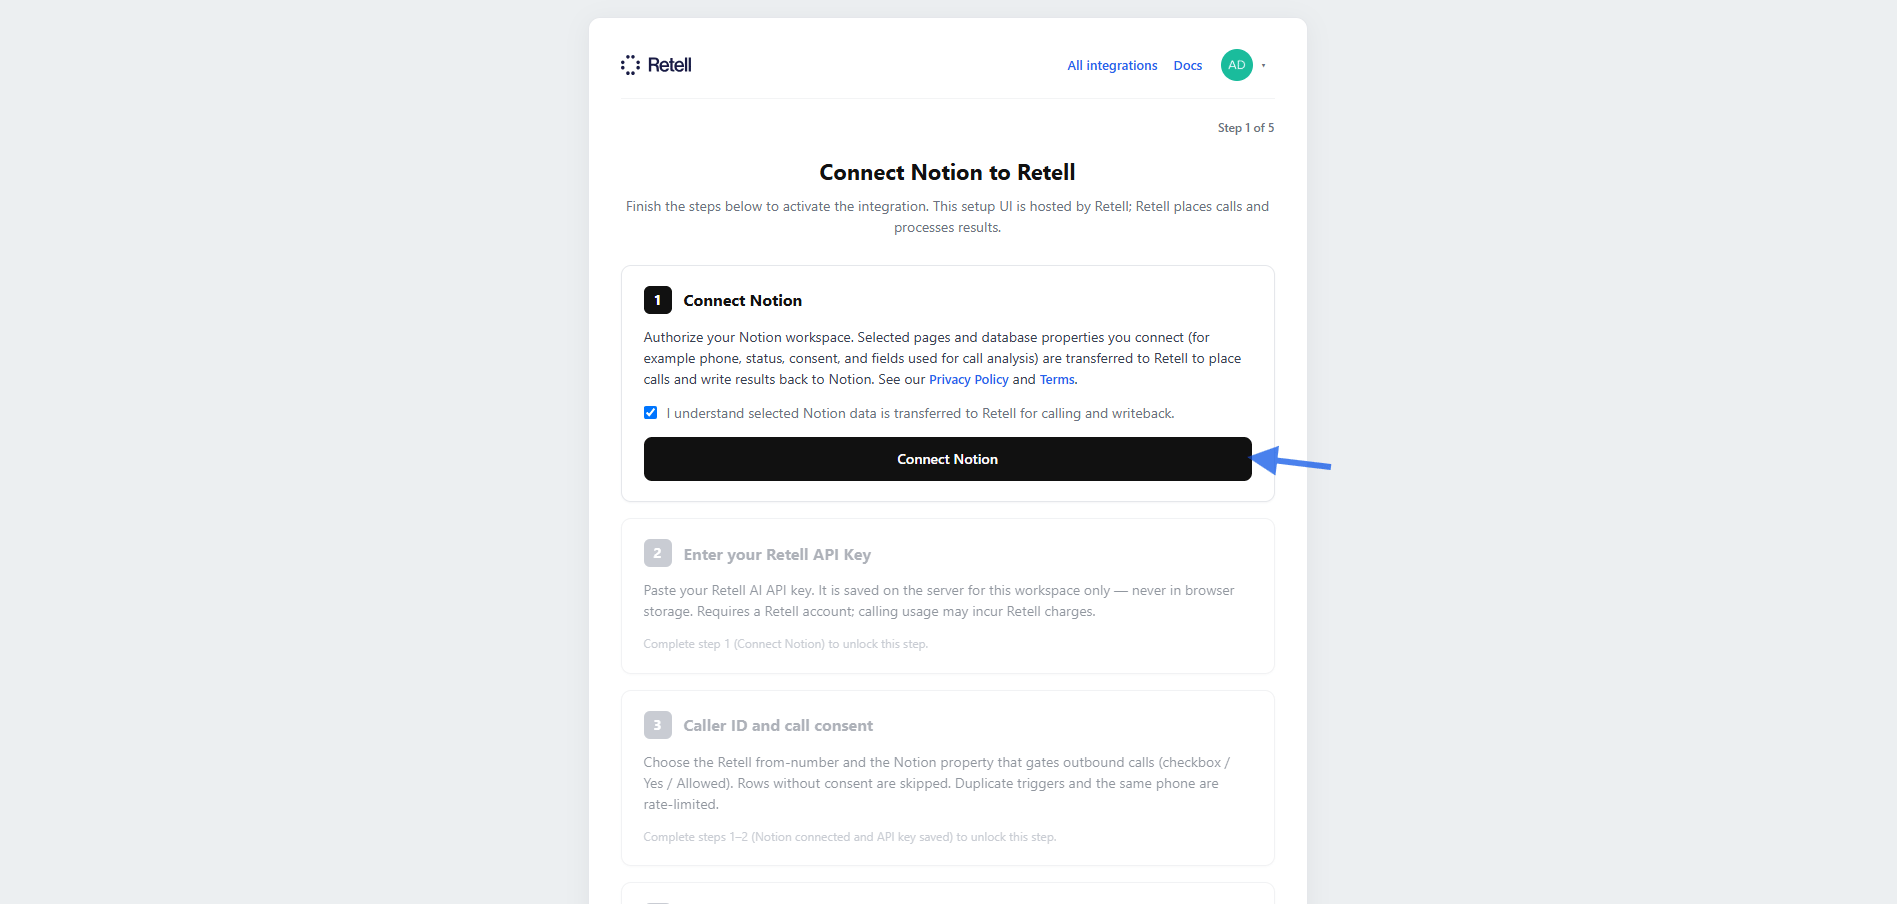
Grant access to your database
1
Review Notion permissions
Review the requested Notion permissions and select Select pages.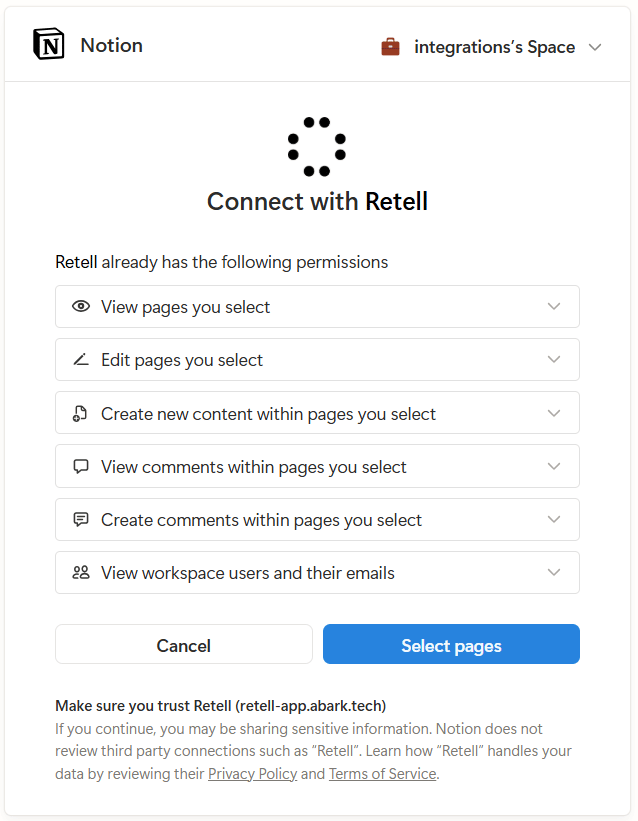
2
Select the database pages
Choose the page or database containing your call table, then select Allow access. Return to the wizard and confirm that Notion shows Connected.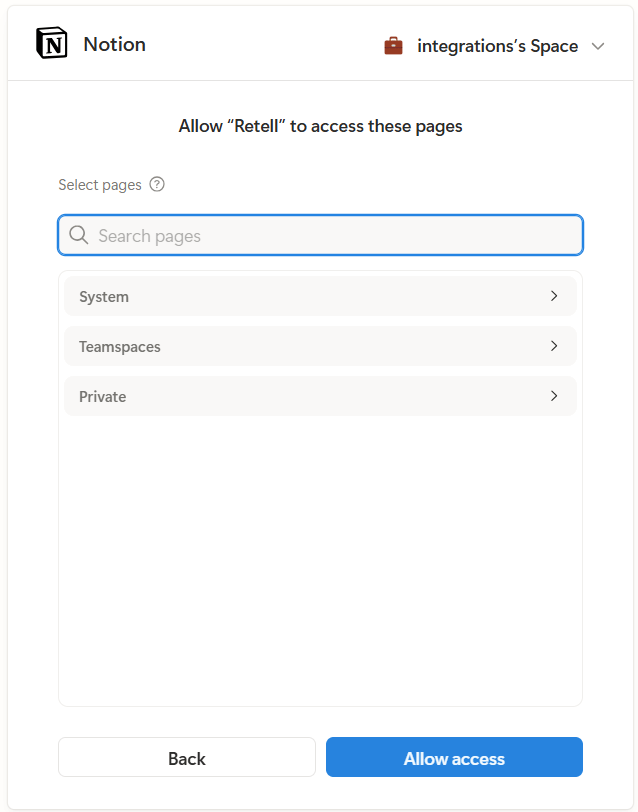
Retell can only read and update the pages you select. Include the target database when granting access.
Configure calling
1
Set the webhook key
In the Retell dashboard, go to Settings → API Keys. Copy an existing key or select Add Key to create one. Open the key’s ⋮ options menu and select Set as webhook key, then copy the key value.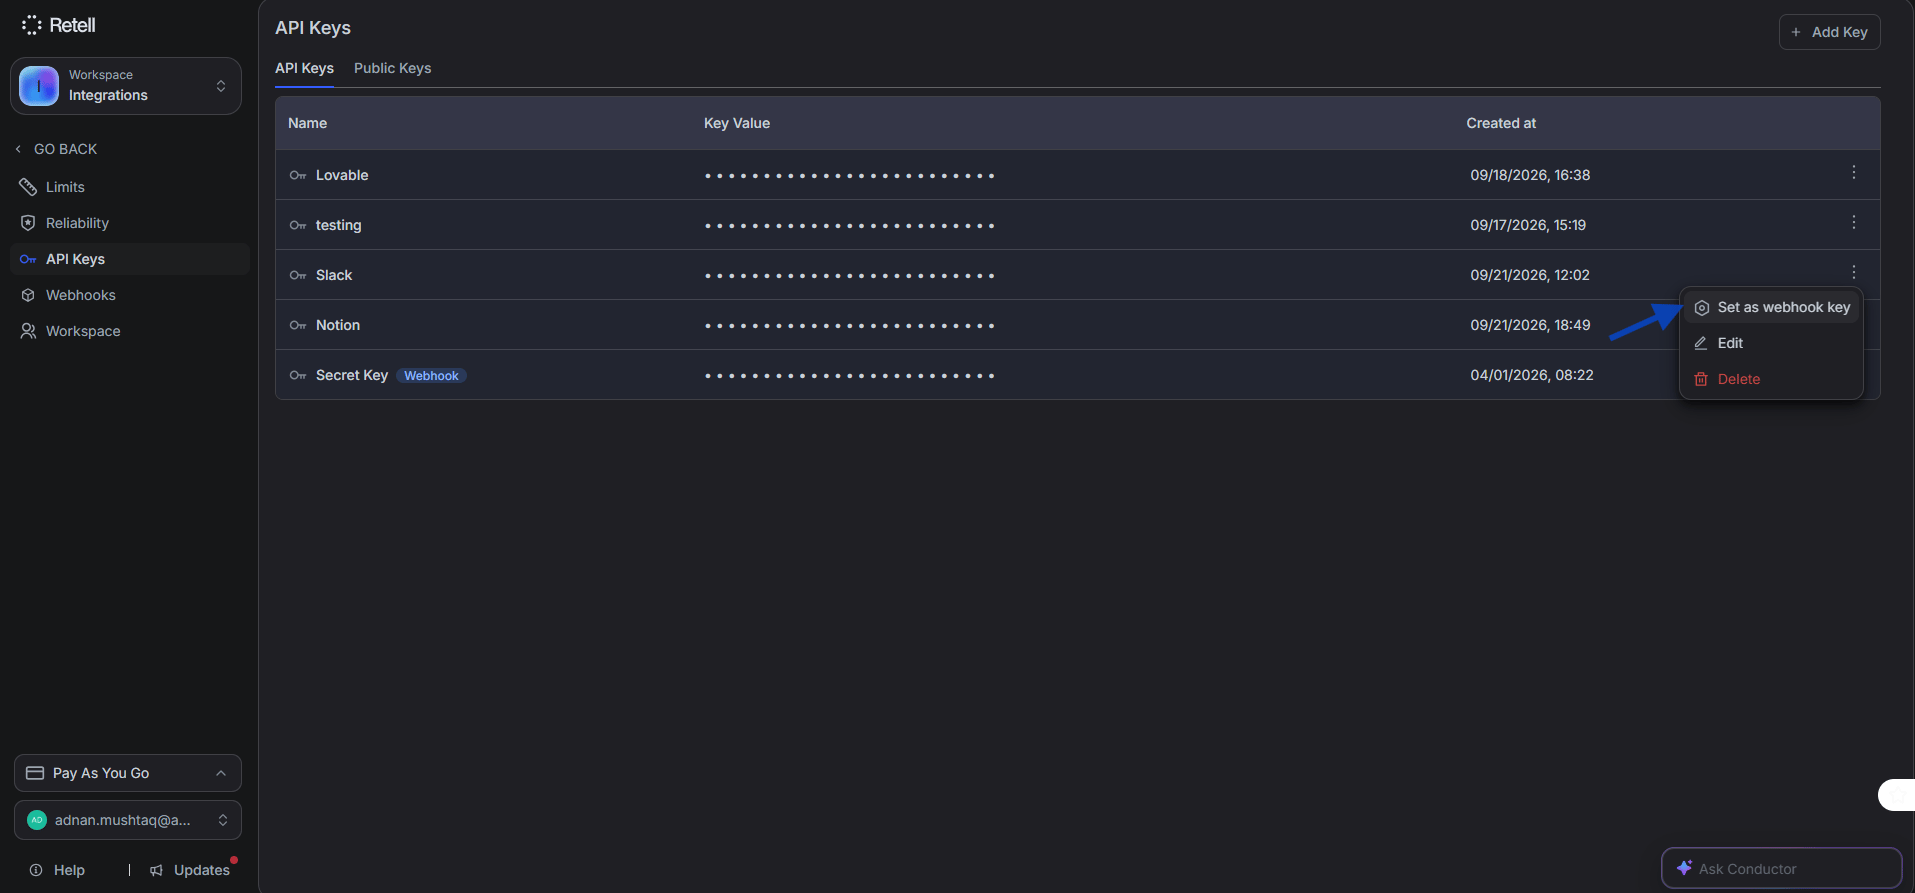
The API key must have the webhook option enabled. Post-call analysis data is only written back to Notion when the key is designated as a webhook key.
2
Save the API key
Paste the webhook key into Retell API Key and select Save API key. Confirm that the status shows Saved.Retell AI supports only one active webhook integration at a time. If you are also using Zoho or Slack, choose which integration receives webhook events.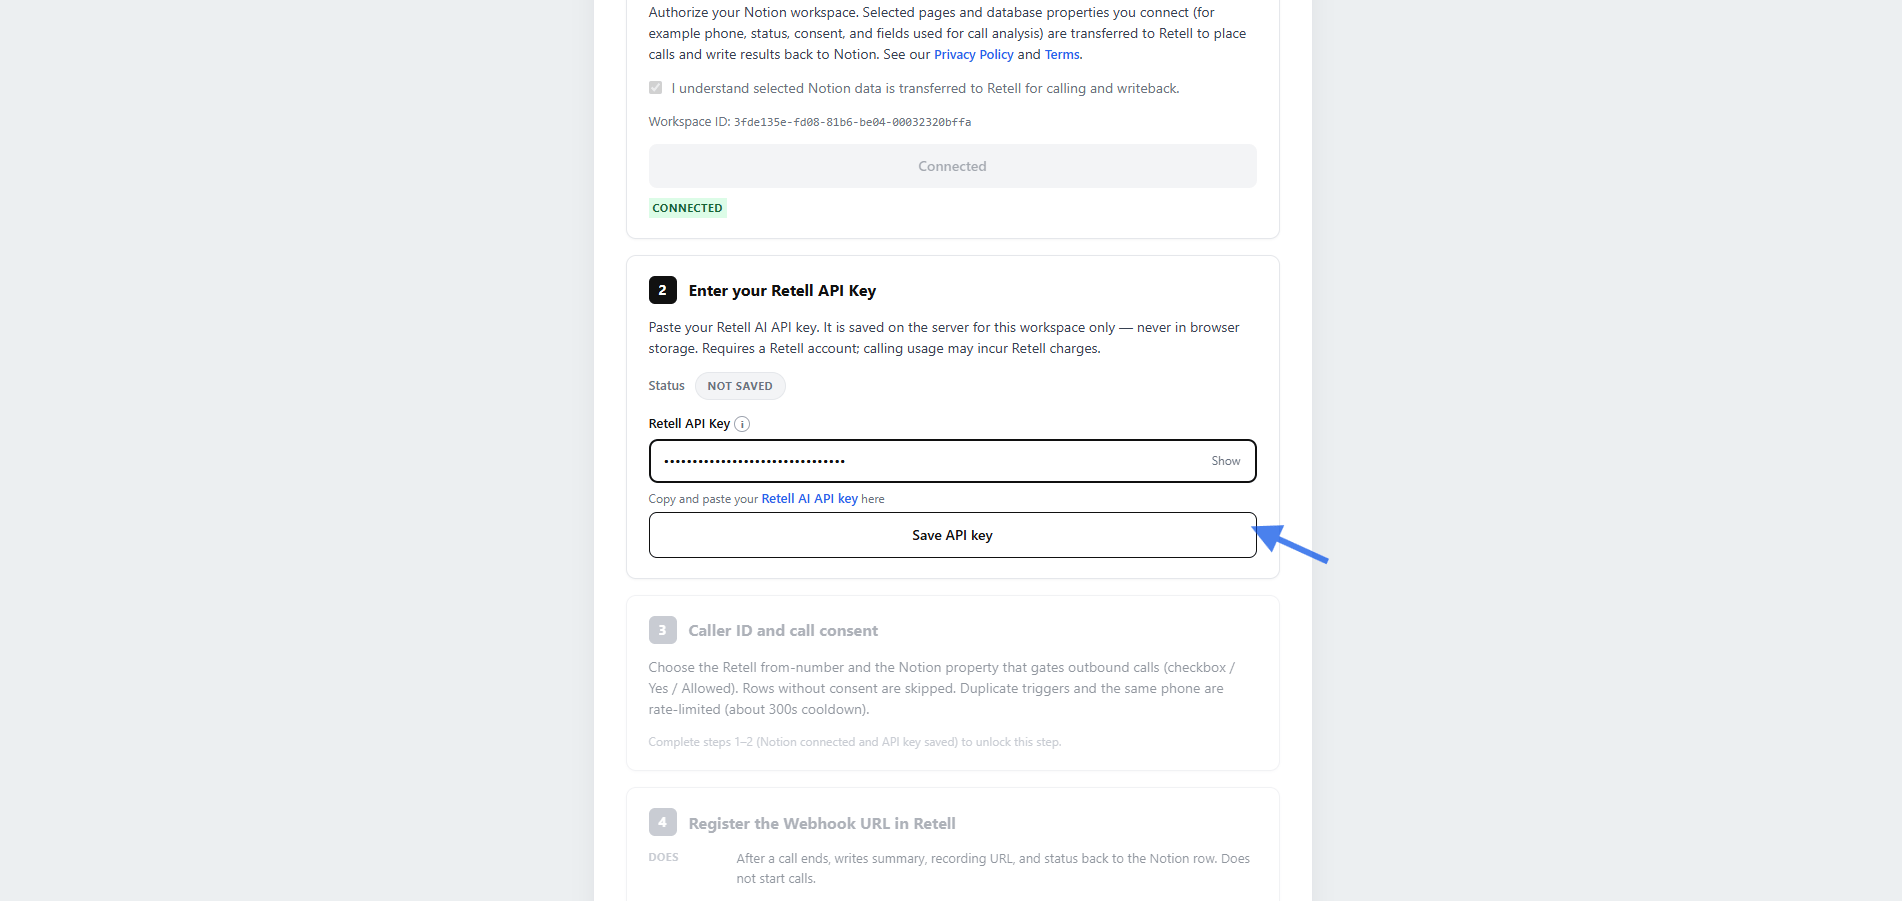
3
Choose the caller ID
Select your outbound number from From number and select Save caller ID.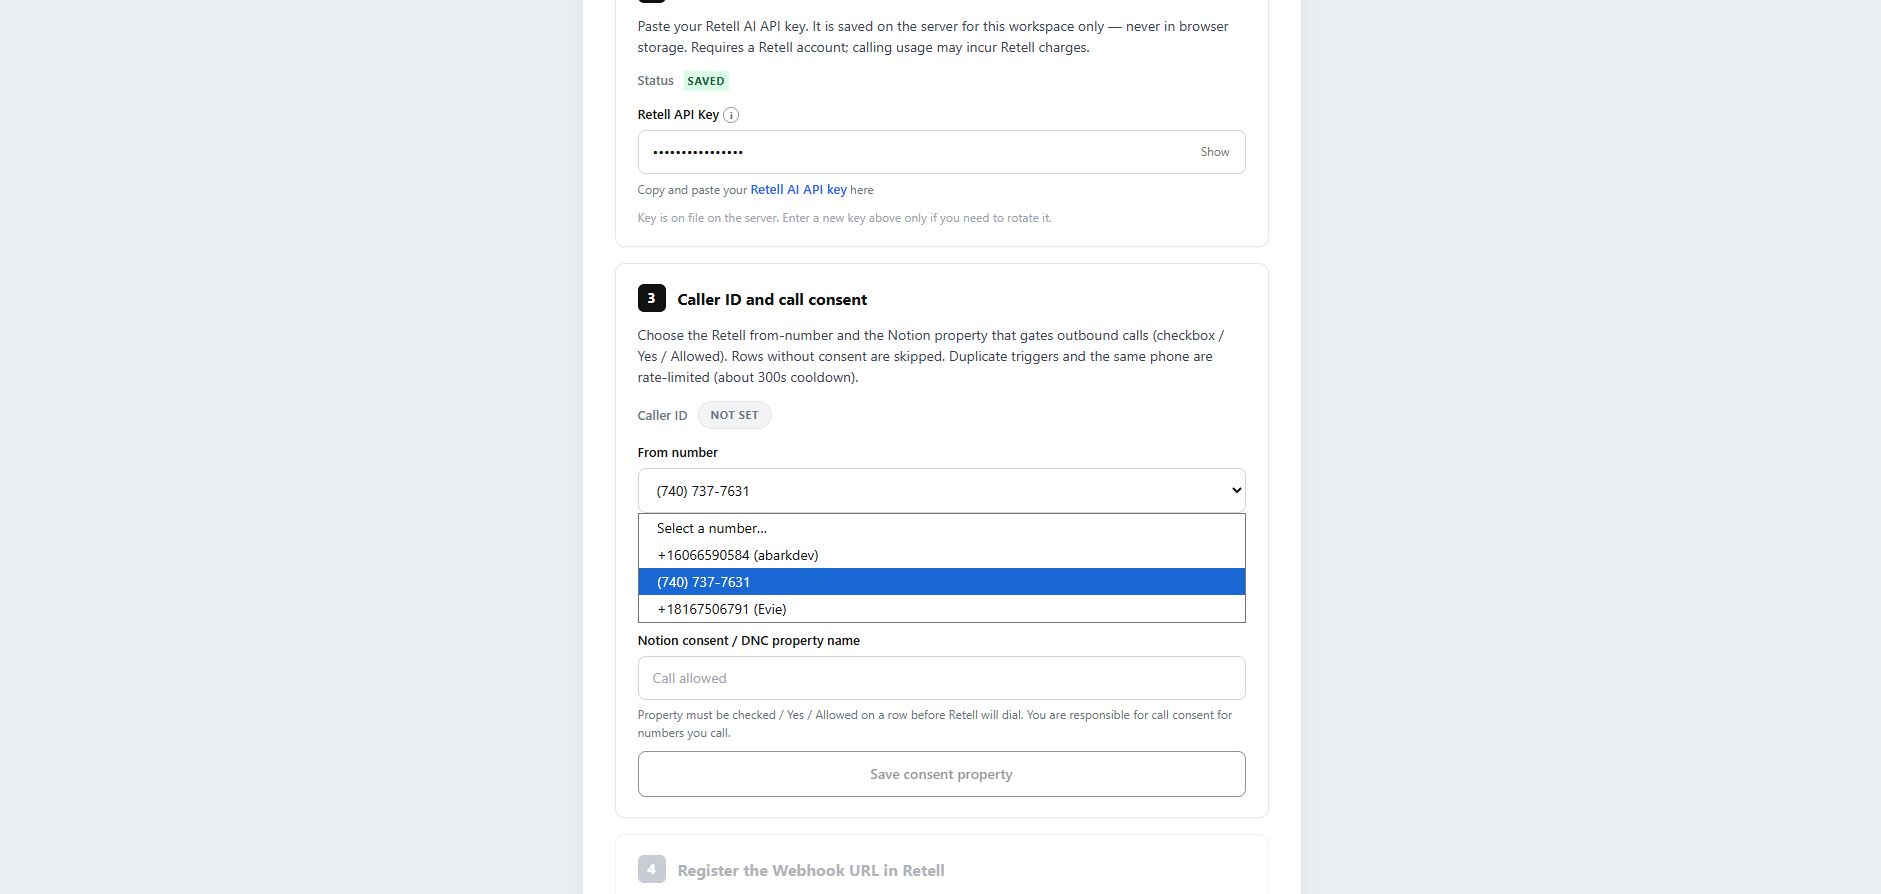
Set consent and copy the webhook
1
Save the consent property
Enter the exact name of your Notion consent checkbox property — for example, 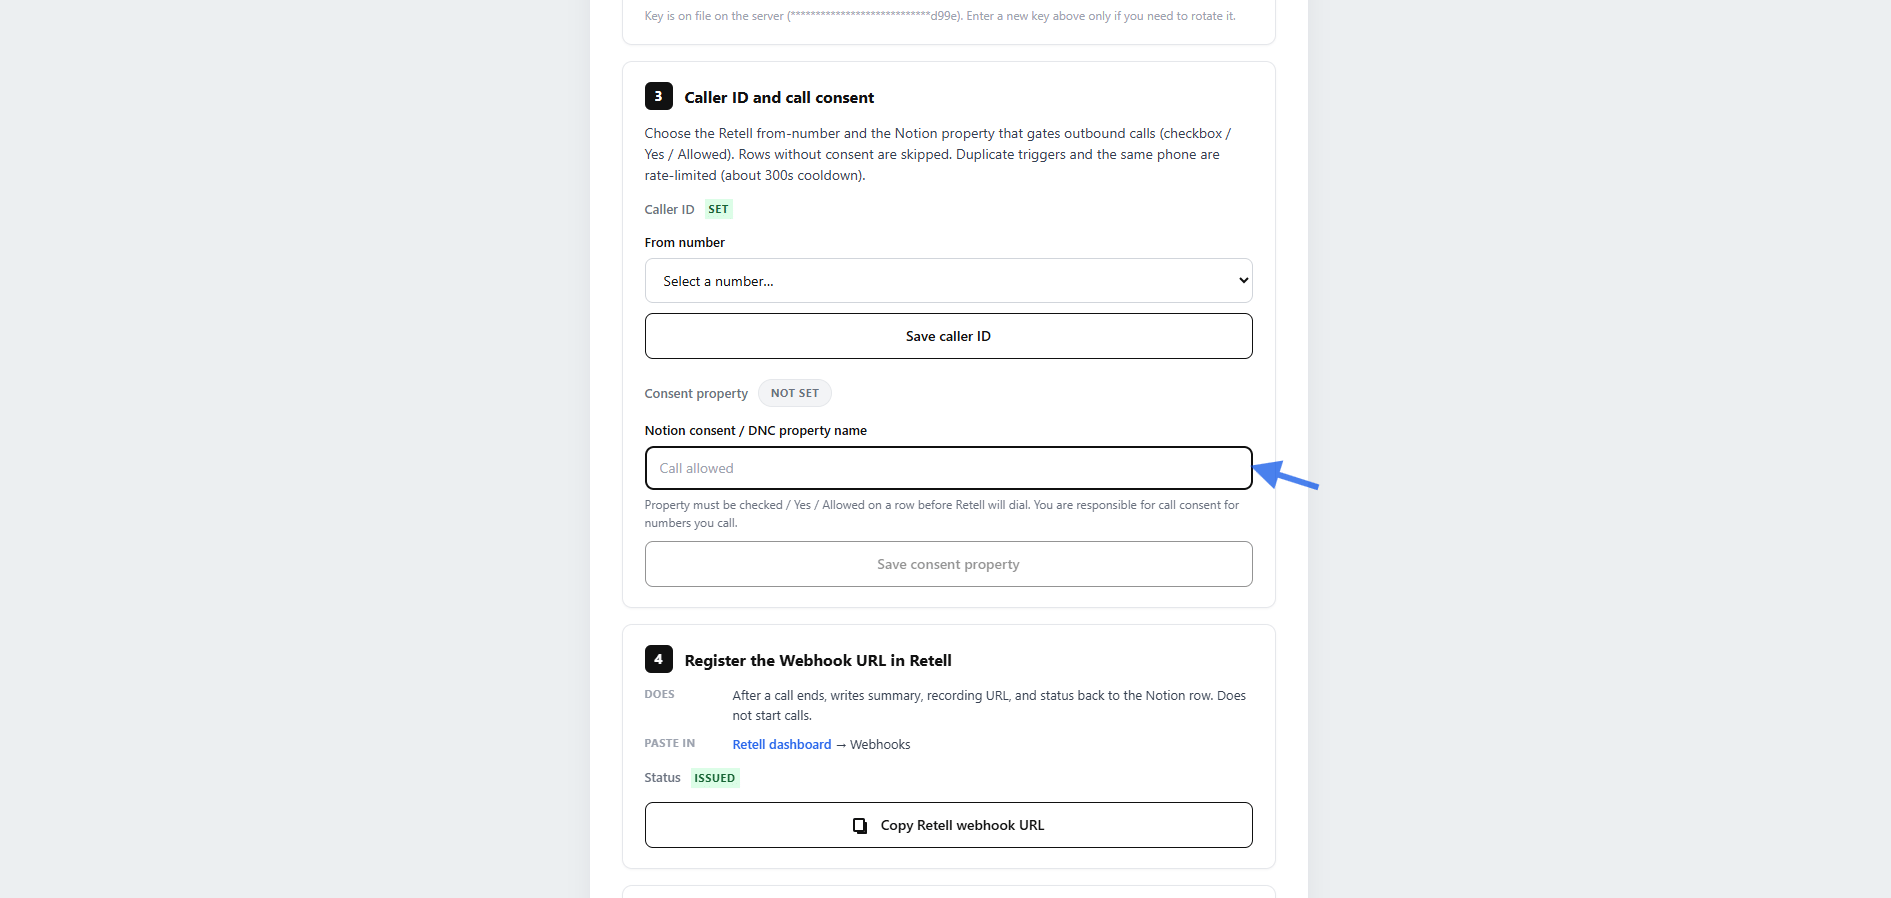
Call allowed — in the consent property field. The name must match the property in your database.Select Save consent property. Check this property only on rows approved for calling; rows without consent are skipped.2
Copy the Retell webhook URL
Select Copy Retell webhook URL. This URL sends call results back to Notion after the call is analyzed.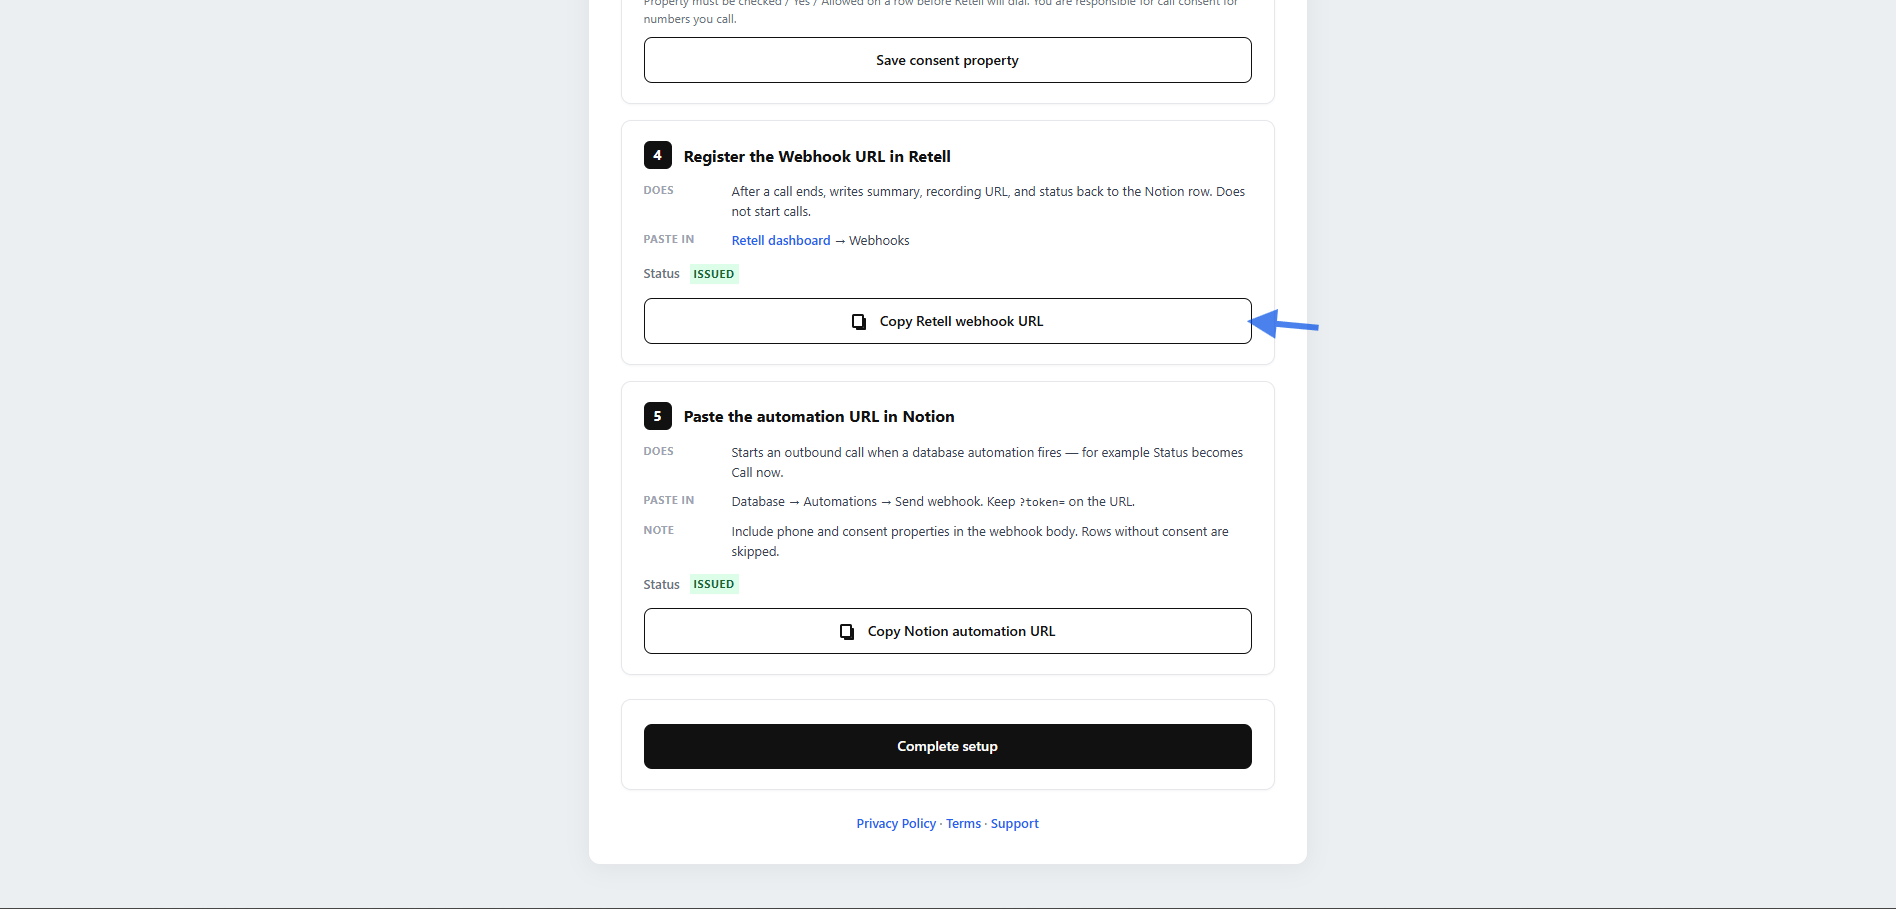
Register the webhooks
1
Add the URL to your Retell agent
Open the Retell dashboard, go to Agents, and select your agent. Expand Webhook Settings.Paste the copied URL into Agent Level Webhook URL. Under Webhook Events, make sure 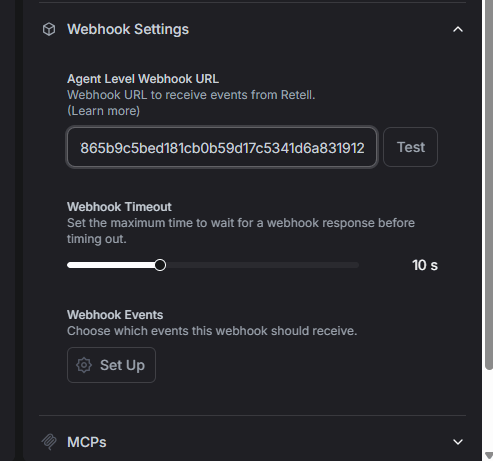
call_analyzed is enabled for post-call analysis.2
Copy the Notion automation URL
Return to the setup wizard and select Copy Notion automation URL. Use this URL in your Notion automation to start calls.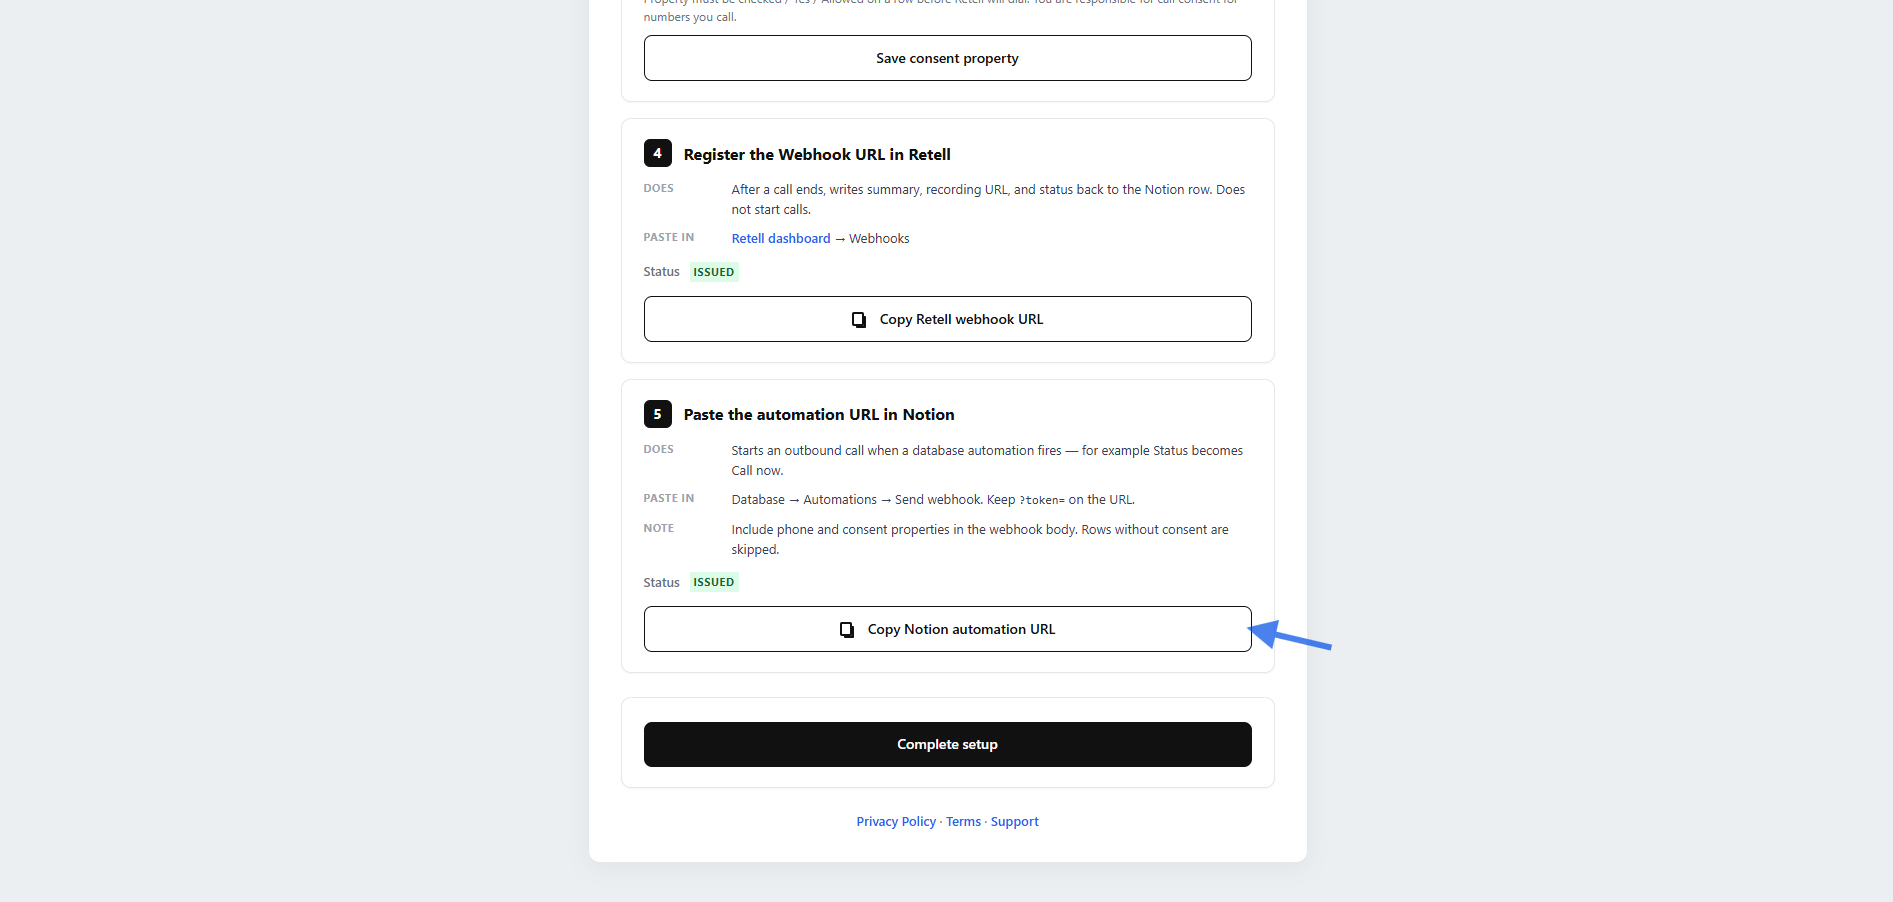
Create the Notion automation
1
Open database automations
Open your Notion call database and create a new automation. Name it Retell Call Agent.
2
Choose a trigger
Add a trigger that matches your workflow. For example, use Phone is edited to call whenever a number is added, or Status becomes Call now for a status-based setup.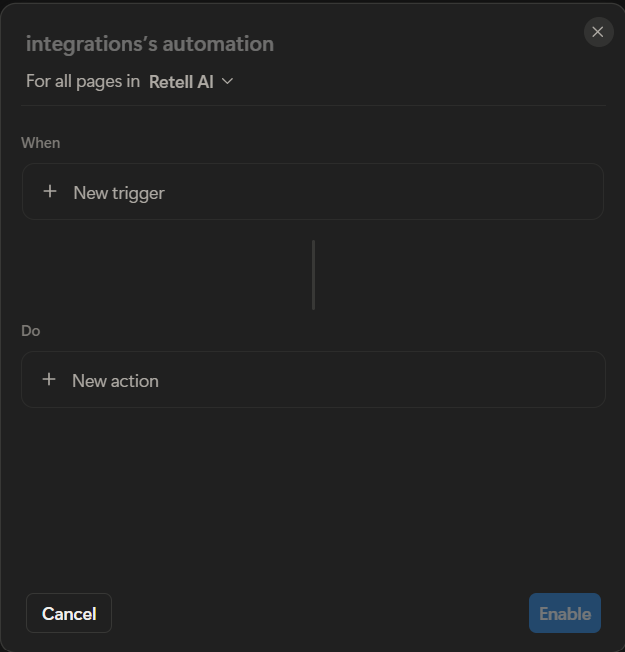
3
Confirm the trigger settings
Confirm that the trigger is connected to the intended call database.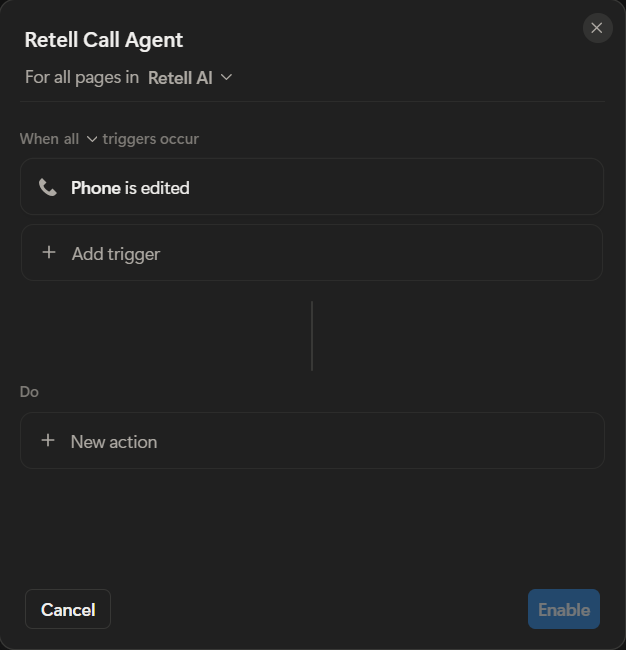
For testing, use a row with your own phone number and check the consent property (for example, Call allowed) before triggering the automation.
Configure the webhook action
1
Add Send webhook
Under Do, select New action, then choose Send webhook.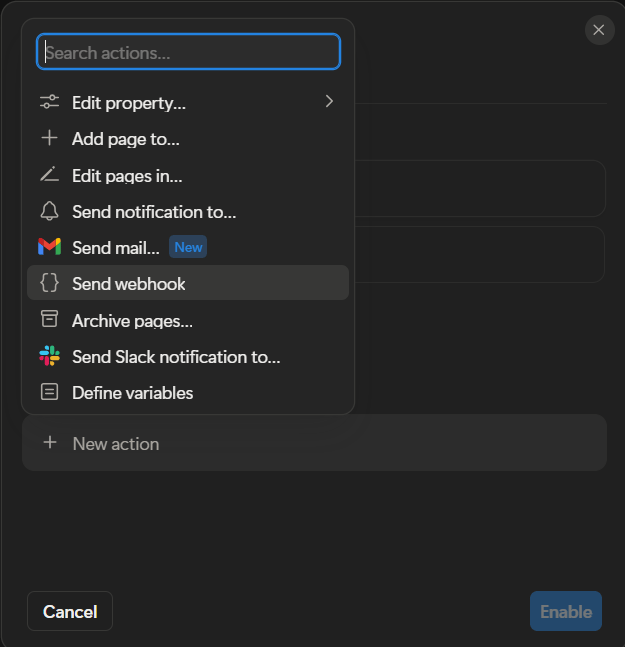
2
Set the URL and include properties
Paste the Notion automation URL into the URL field.Under Content, select all existing properties, including Phone and your consent property. Select Done, then enable the automation.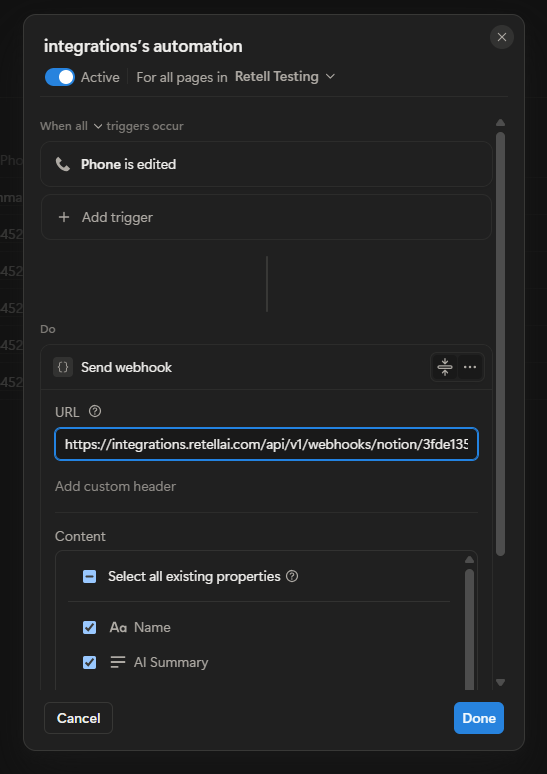
3
Enable the automation
Confirm that the webhook action includes the required database properties, then select Done and enable the automation.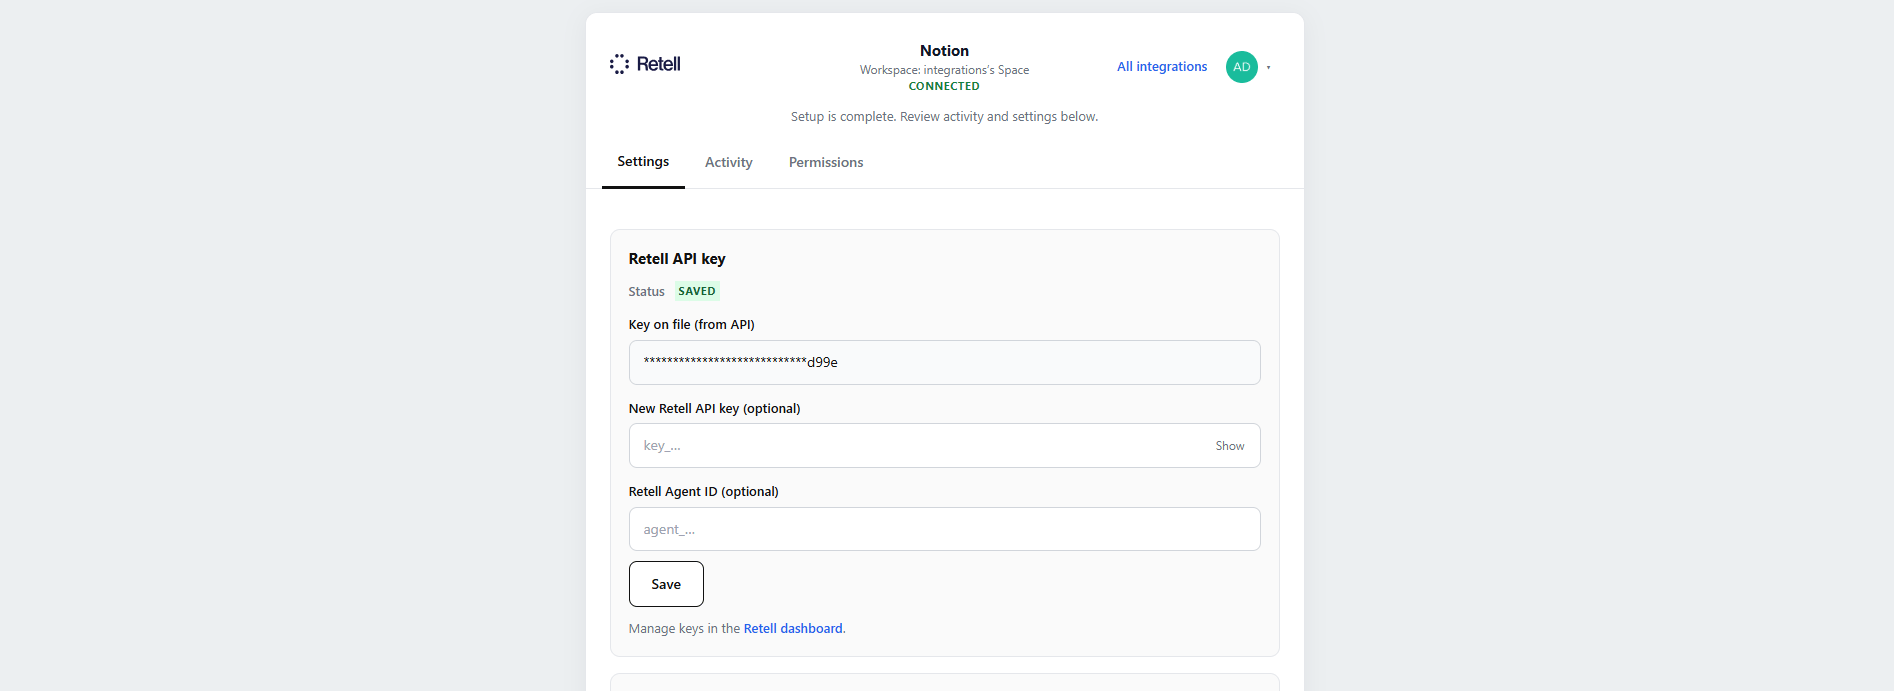
Complete setup and test
1
Complete setup
Return to the wizard and select Complete setup. Confirm that the integration status shows Connected.
2
Trigger a test call
Add a test row with your own valid phone number and check the consent property (for example, Call allowed).Trigger the automation by performing the action you configured — for example, editing the Phone field or changing the Status value. Answer the call and wait for analysis to finish.
Verify call activity
In your Notion database, open the test row and confirm that AI Summary and Recording URL are populated. Status and other analysis fields may also update, depending on your configuration.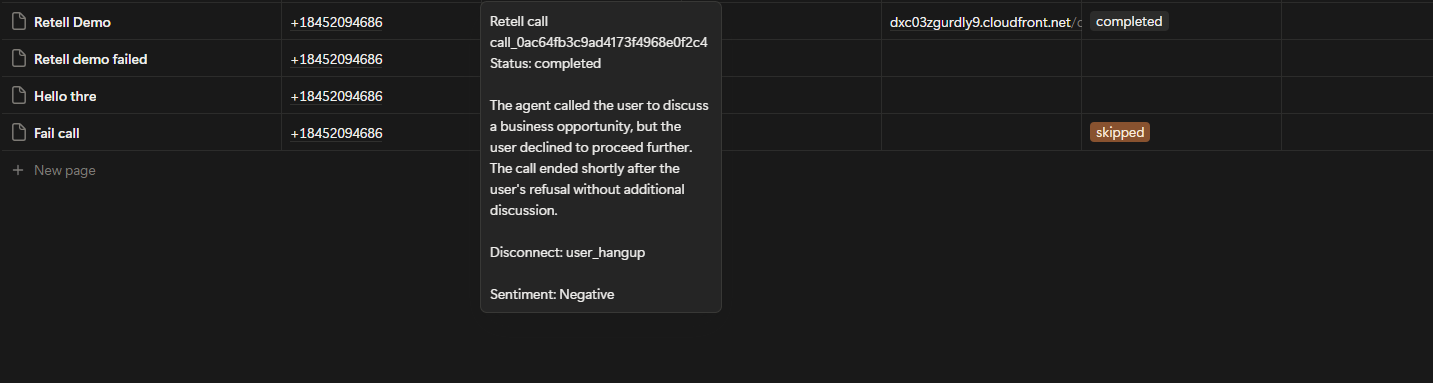
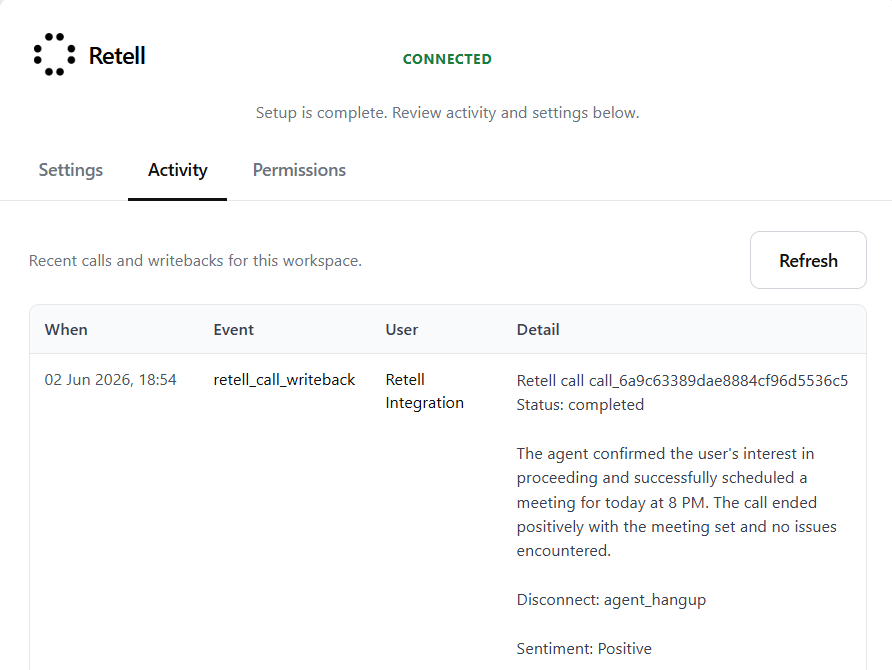
retell_call_writeback event appears for the test call. Review its call ID, status, summary, disconnect reason, and sentiment.
Setup validation
- Notion is connected and the correct database is shared with Retell.
- The API key, caller ID, consent property, and intended agent are configured.
- The Retell webhook is registered and the Notion automation is enabled.
- A test call completes and results appear on the originating Notion row.