

Overview
Knowledge bases are a collection of sources of information that your agent can access to retrieve relevant information during the call, which can provide additional context to the conversation. It can greatly improve the quality of the responses and the overall experience, especially in cases where there is a lot of information available (too long for putting in the prompt), but having the information is essential for the agent to respond correctly. This feature is quite useful for use cases like support, helpdesk, FAQ, etc. Supported sources:- Website content (via URLs)
- Documents (supported formats: .bmp, .csv, .doc, .docx, .eml, .epub, .heic, .html, .jpeg, .md, .msg, .odt, .org, .p7s, .pdf, .png, .ppt, .pptx, .rst, .rtf, .tiff, .txt, .tsv, .xls, .xlsx, .xml)
- Custom text snippets
- Google Docs, Sheets, and Drive files, synced through Google Drive knowledge base sync
- Microsoft OneDrive files, synced through OneDrive knowledge base sync
- Notion pages, synced through Notion knowledge base sync
How it works
You can create knowledge bases, and link them to your agents. When a knowledge base is linked to an agent, the agent will always try to retrieve information from the knowledge base before responding. There’s no need to change your prompt for it to trigger, as it will be done automatically, for every response generation. During the creation of knowledge bases, it will chunk the sources, embed them, and store them in a vector database. During the call, when the agent is about to respond, it will use the transcript so far (prompt is not included) to find the most relevant chunks from the knowledge base, and feed them to the LLM as context. Before searching, Retell condenses the recent conversation into a short, standalone search query and uses that query to find the most relevant chunks. You can steer how this query is built with a Knowledge Base Instruction (see the “Configure Knowledge Base Instruction” step below).Auto-refreshing and auto-crawling
You can enable auto-refreshing for URL, Google Drive, OneDrive, and Notion sources in your knowledge base, and auto-crawling for URL paths.- Auto-refreshing: When enabled, every 24 hours the system re-fetches all URLs in the knowledge base and re-syncs Google Drive files, OneDrive files, and Notion pages whose source changed. If a source can’t be re-fetched, or the refresh reaches its time limit before reaching every source, the existing content for those sources is kept unchanged so the knowledge base stays usable. The detail view reports how many sources were affected.
- Auto-crawling: You can enable this feature for specific URL paths. The system will automatically crawl all pages under each path every 24 hours, excluding any URLs you’ve added to the exclusion list. All pages found are stored, except those explicitly excluded.
Limits
Each knowledge base has the following limits:- URL: at max 500 URLs.
- Auto-Crawling URL Paths: at max 200 exclusion URLs for each auto-crawling path, and at max 500 exclusion URLs per knowledge base.
- Text: at max 50 text snippets.
- File: at max 25 files, with each file at max 50MB. For CSV, TSV, XLS, and XLSX, the row limit is 1000 rows and the column limit is 50 columns.
Best Practices
- Prefer
.md(Markdown) files over.txt. Well-structured Markdown is chunked and retrieved more accurately.- Use clear, descriptive headings and keep each
##section focused and reasonably short. If a##becomes long, split it into multiple##/###sections. - Write short paragraphs and lists to separate concepts; avoid walls of text.
- For tabular or image-heavy content, retrieval may be less reliable; consider adding explanatory text so related information stays in the same chunk.
- Use clear, descriptive headings and keep each
- Group related information within the same section so chunks remain cohesive and relevant.
- Avoid ambiguity and use specificity in references. Include names, dates, units, and avoid ambiguous pronouns like
itorthis, because prior chunks may not be present. - Use more granular paths for auto-crawling instead of broad paths with many exclusion URLs. This improves crawl performance and helps avoid hitting the exclusion URL limits.
- Use the knowledge base to supply supporting information, not agent instructions or prompts. Put instructions in the agent’s prompt.
Use Knowledge Base
Access Knowledge Base Settings
- Navigate to your dashboard
- Select the “Knowledge Base” tab
- Click the “Add” button in the top-right corner
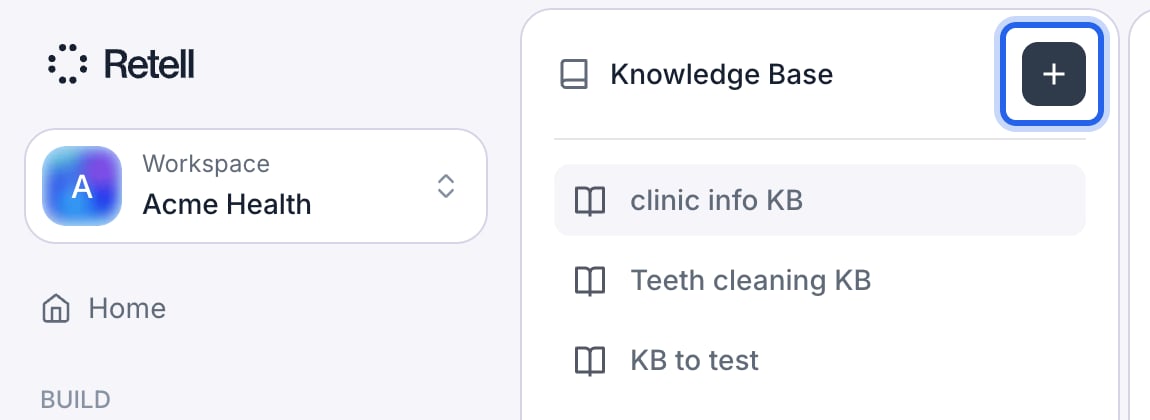
The Knowledge Base tab, with the add button highlighted.
Create Knowledge Base Items
-
URL: Import content from web pages
- Supports single pages or entire websites
- Automatically updates when content changes
-
File: Upload documents
- Supported formats: PDF, TXT, DOCX, etc.
- Maximum file size: 50MB
-
Text: Add custom content
- Paste or type direct information
- Ideal for specific instructions or data
-
Google Drive: Sync Docs, Sheets, and files from a connected Drive
- Connect Google Drive first; the Add menu then lists your connected accounts. See Google Drive knowledge base sync for picking files and how refresh works.
- With auto-refresh enabled, changed files re-sync on the next daily refresh
-
Microsoft OneDrive: Sync files from a connected personal or work OneDrive
- Connect OneDrive first; the Add menu then lists your connected accounts. See OneDrive knowledge base sync for picking files, supported formats, and how refresh works.
- Microsoft’s file picker opens in a pop-up, so allow pop-ups for the dashboard
-
Notion: Sync pages from a connected Notion workspace
- Connect Notion first and share pages with the connection in Notion; the Add menu then lists your connected accounts. See Notion knowledge base sync for picking pages, what syncs from a page, and how refresh works.
- Each page is its own source; nested pages are added separately
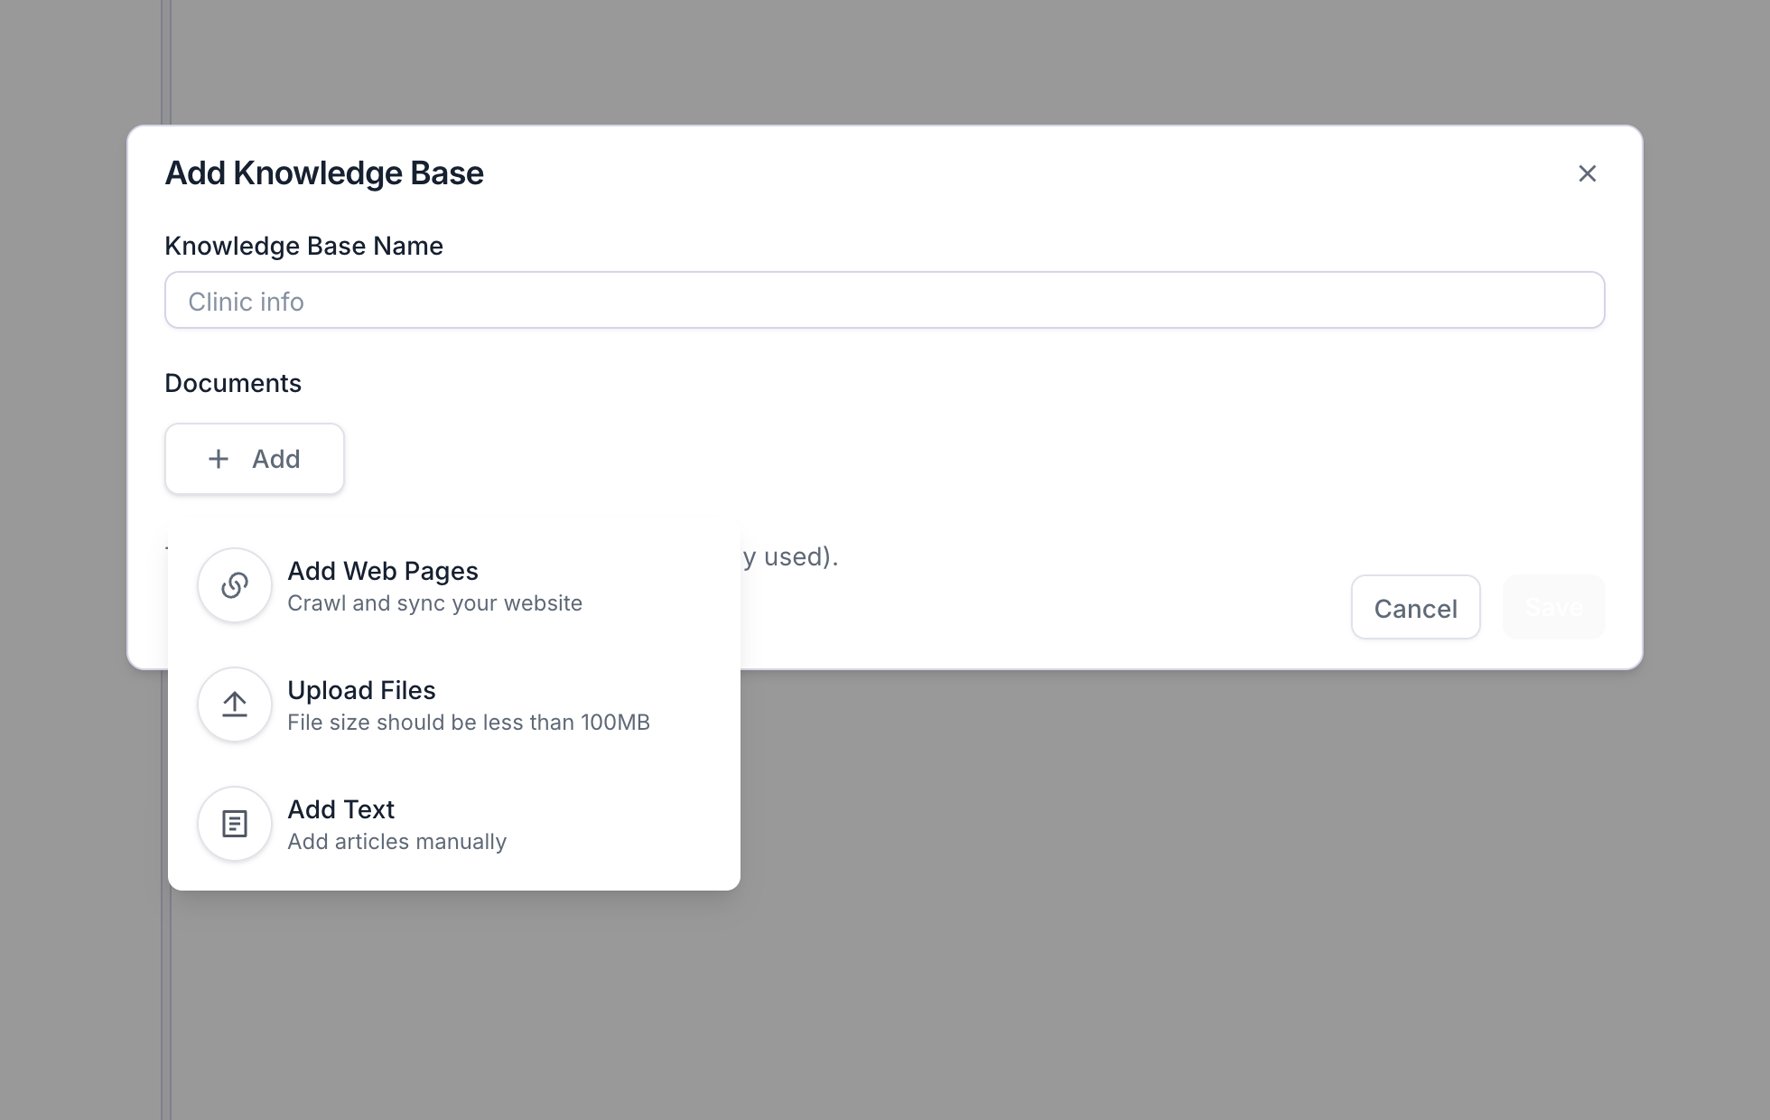
The Add Knowledge Base dialog with the source-type menu open.
Enable auto-crawling
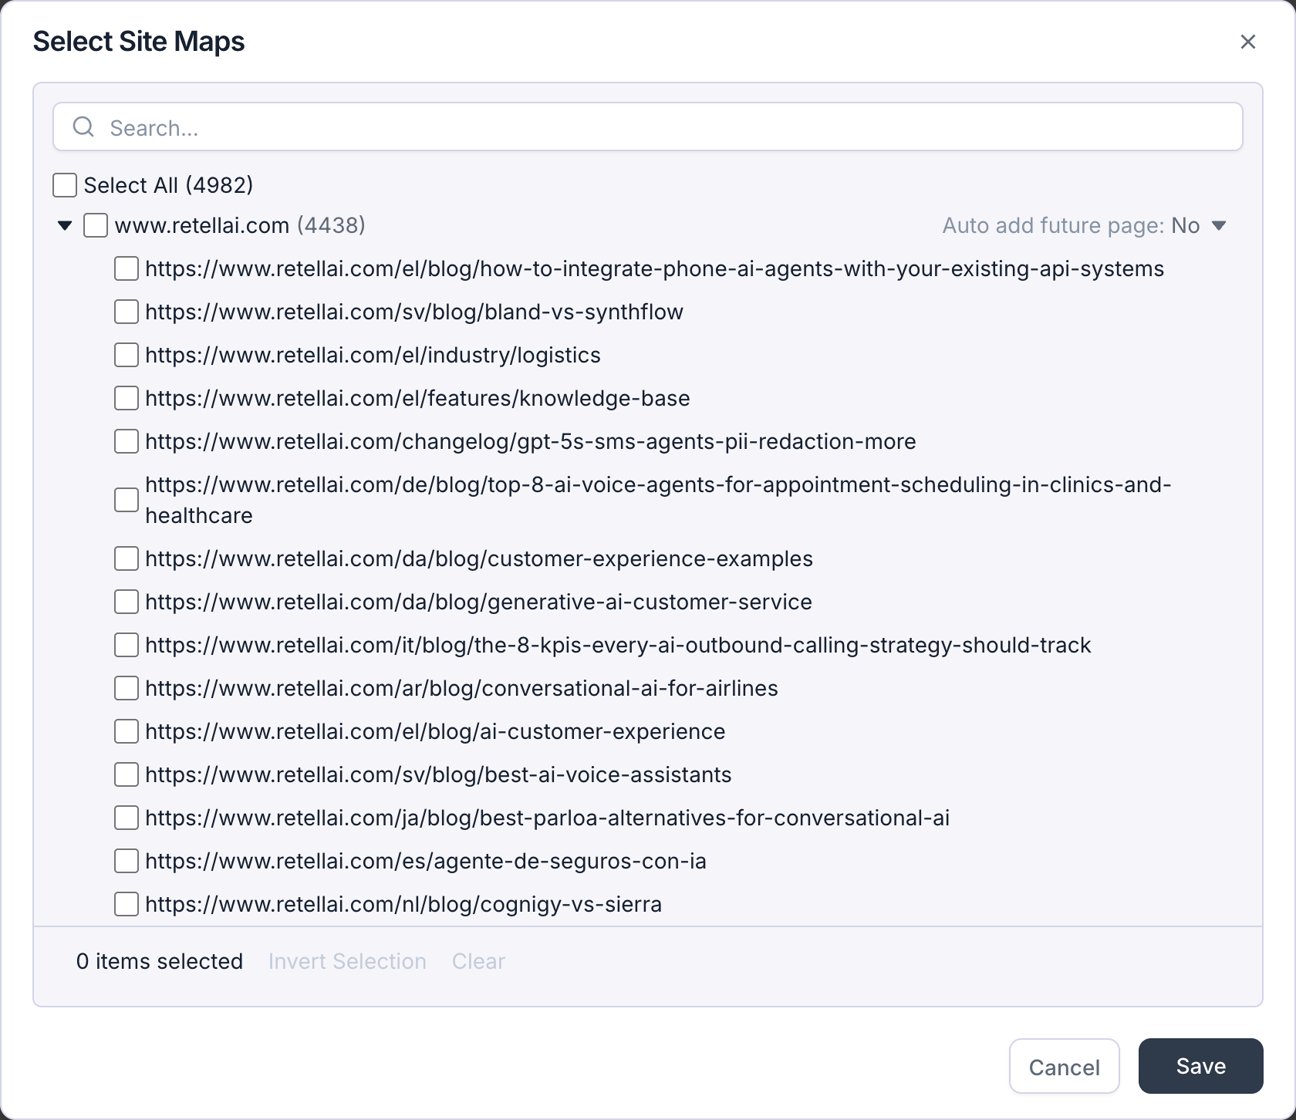
The Select Site Maps dialog, where you pick which crawled pages to include.
Verify Added Items
- View all added items
- Edit existing items
- Delete items when no longer needed
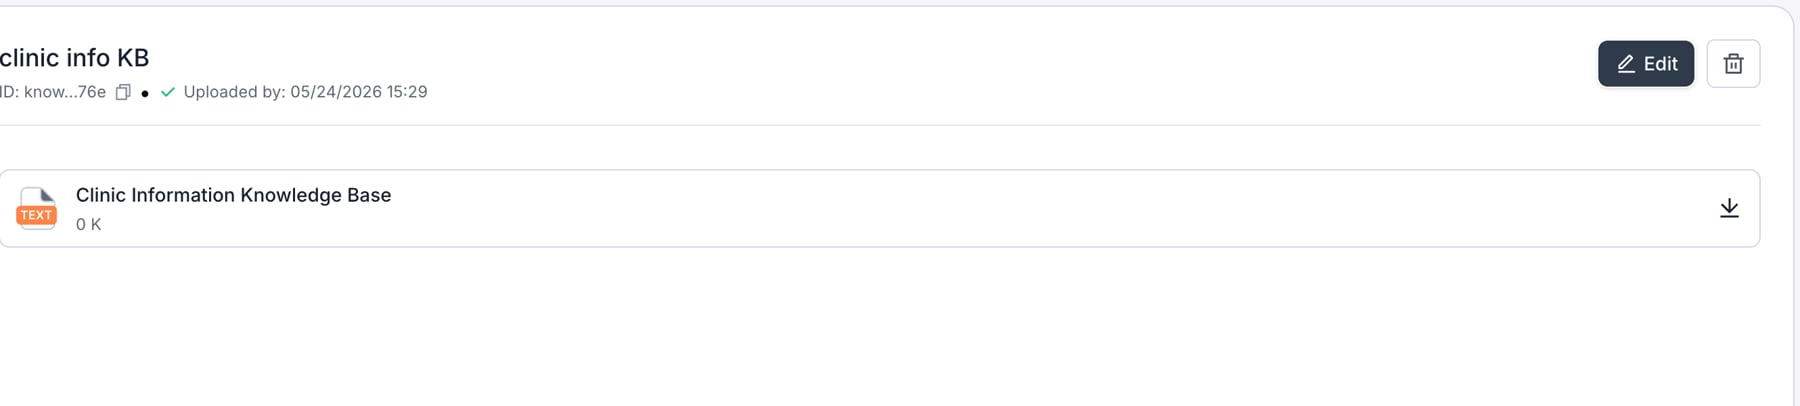
A knowledge base's detail view listing its sources.
Connect to Your Agent
- Open the agent editor
- Locate the “Knowledge Base” section
- Select the knowledge base items you want to use
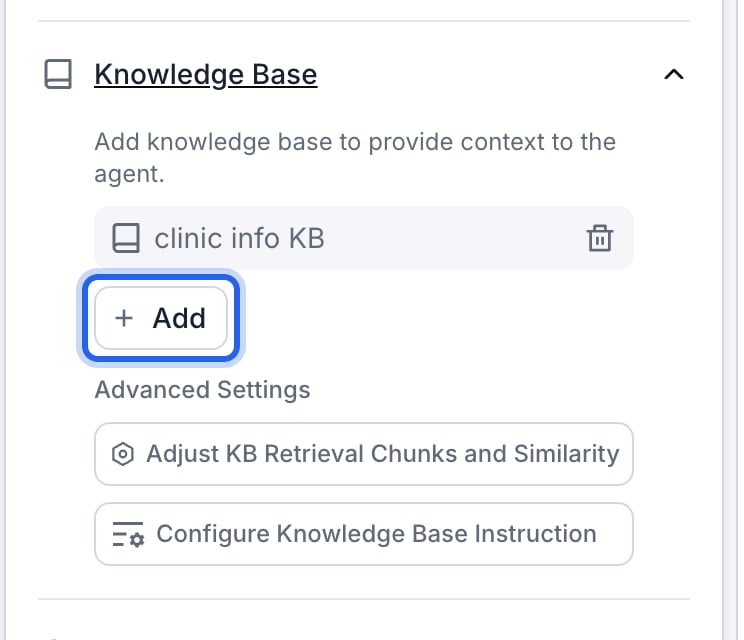
The Knowledge Base section in the agent editor, with the Add button highlighted.
Configure Knowledge Base Settings
- Chunks to retrieve: The max number of chunks to retrieve from the knowledge base, range 1-10. Default: 3.
- Similarity Threshold: Adjust how strict the system is when matching chunks to the context. A higher setting gives you fewer, but more similar, matches. Default: 0.6.
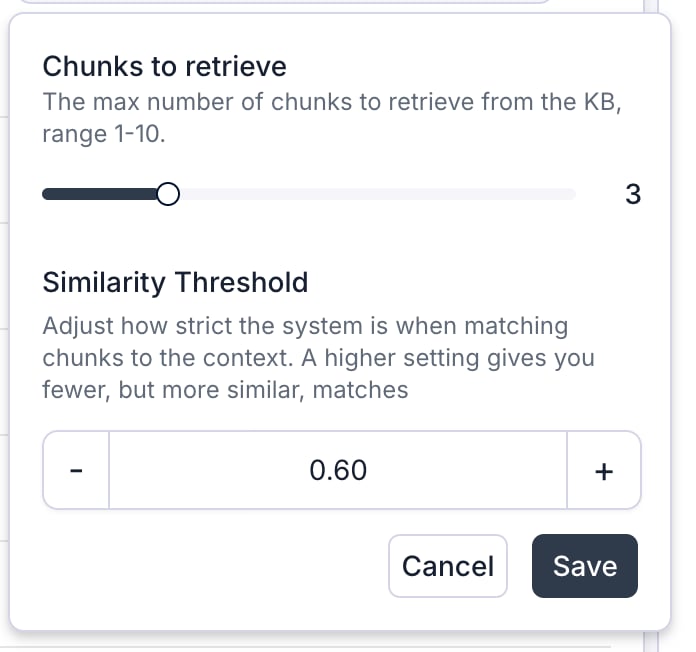
The retrieval settings: chunks to retrieve and similarity threshold.
Set up Node Level Knowledge Base
- Open the agent editor
- Click the Conversation Node or Subagent Node you want to configure.
- Similar to agent level knowledge base config above, you can select and add the knowledge base items you want to use.
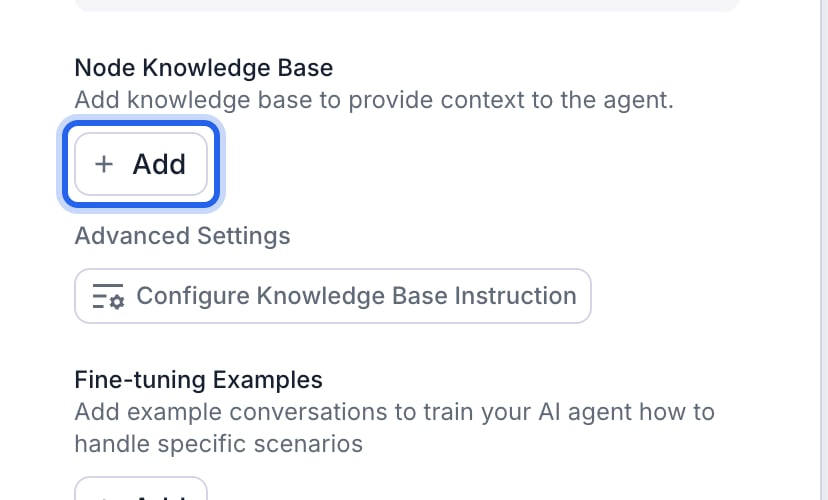
The Node Knowledge Base section in a Conversation Node's settings.
Configure Knowledge Base Instruction
- It shapes the search query; it does not filter or rewrite the retrieved chunks. Use “Chunks to retrieve” and “Similarity Threshold” above to control how much content is returned.
- Keep it short and specific (up to 500 characters).
- For most cases you can leave it empty, as the default query building already works well. Add an instruction only when retrieval keeps focusing on the wrong topic or misses context you expect.
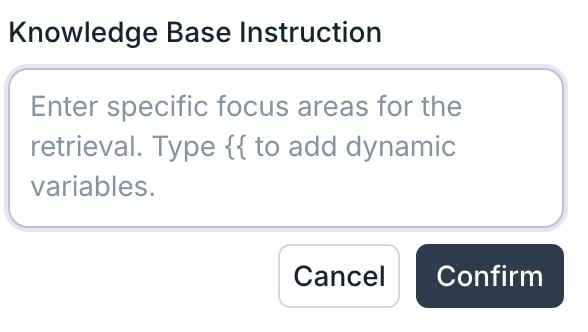
The Knowledge Base Instruction dialog.
Check what the agent retrieved
To see exactly which chunks the agent pulled on a given turn, open the call in Call History and go to its transcript. Any agent message that used the knowledge base shows a Knowledge Base Retrieval link above it.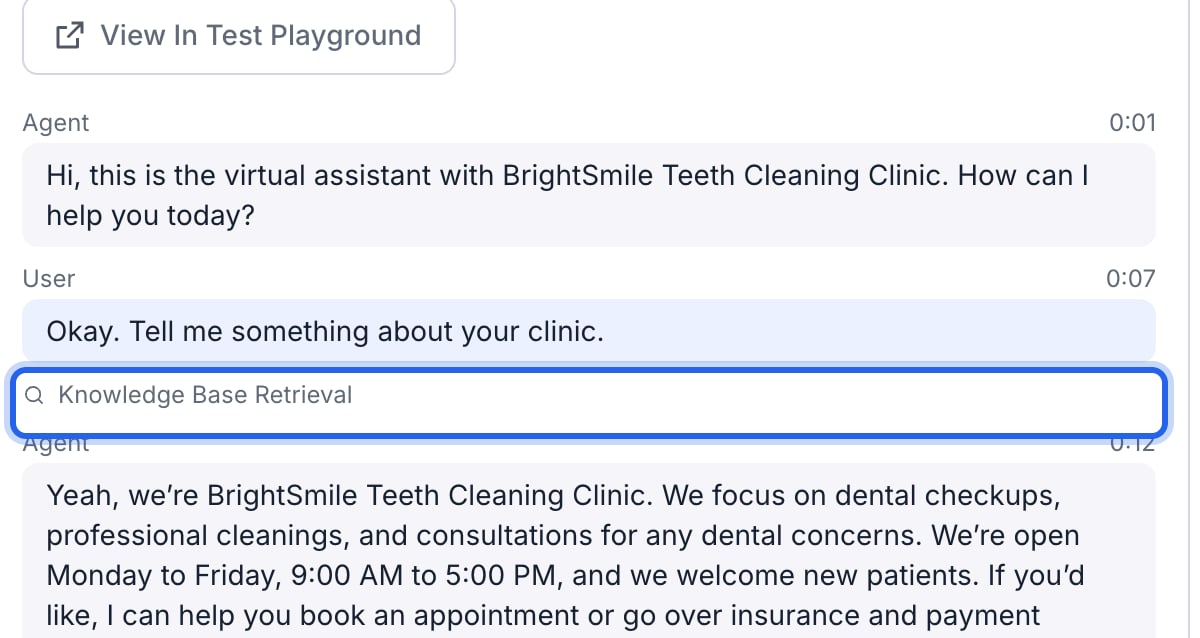
A Knowledge Base Retrieval link above an agent turn in the call transcript.
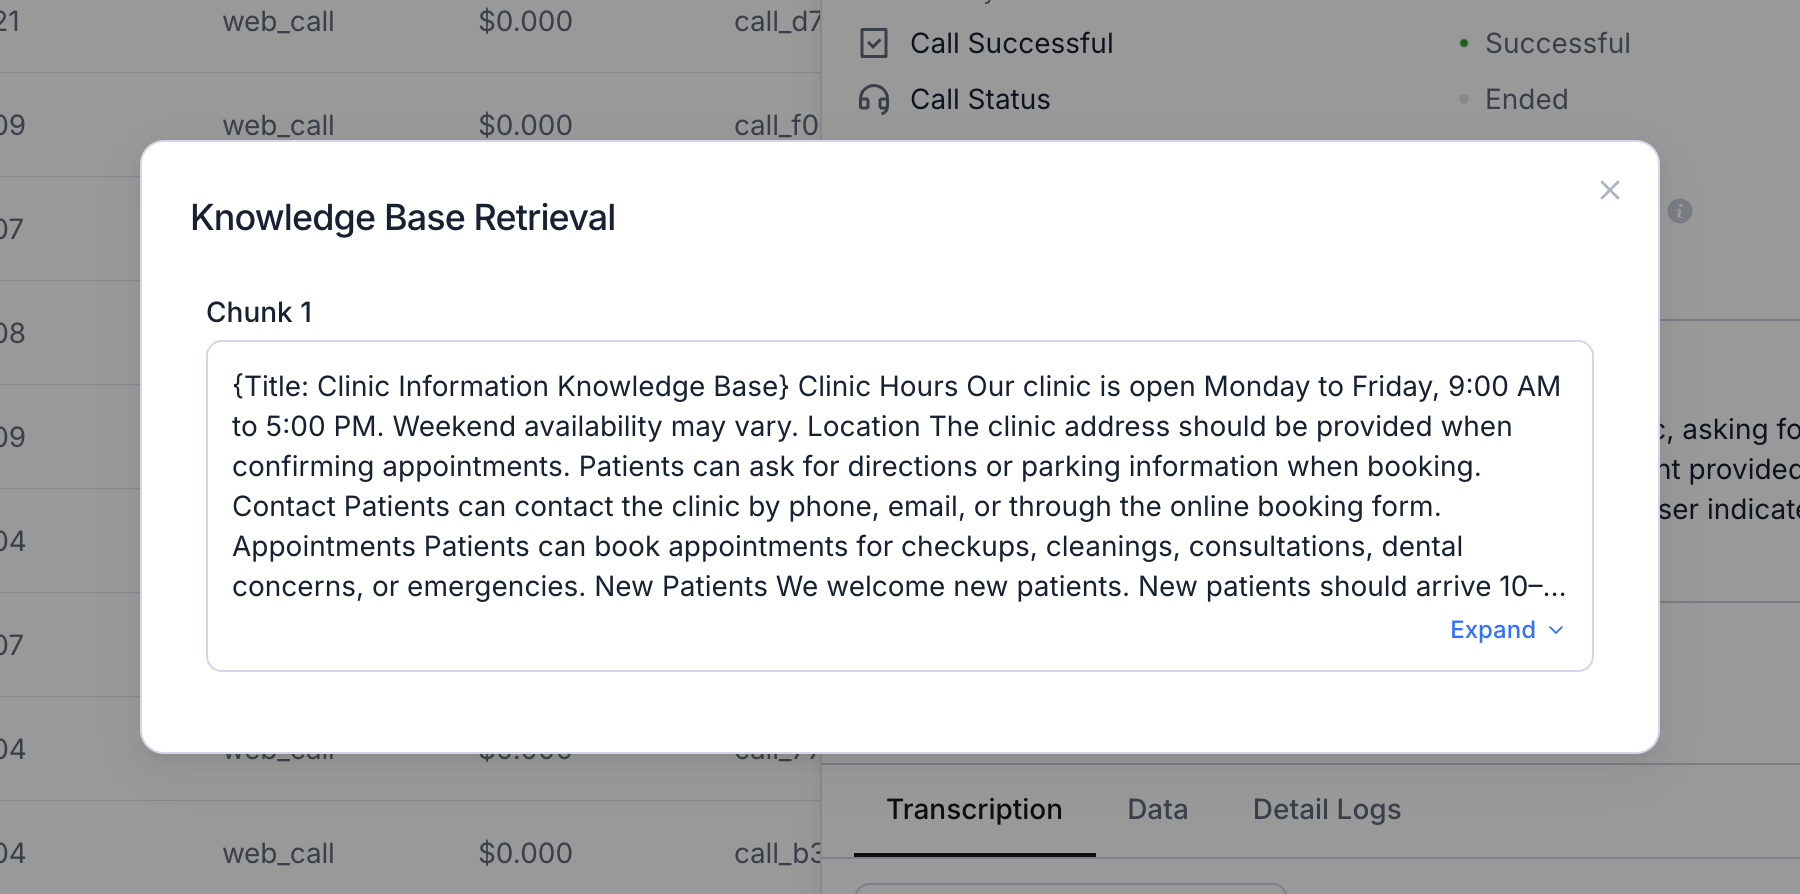
The Knowledge Base Retrieval dialog showing the chunk fed to the LLM.
FAQ
Do I need to change my prompt to use knowledge base?
Do I need to change my prompt to use knowledge base?
How can I prevent the LLM from generating information not found in the knowledge base?
How can I prevent the LLM from generating information not found in the knowledge base?
The agent response is not correct, what should I do?
The agent response is not correct, what should I do?
Will this add a long latency to the call?
Will this add a long latency to the call?
Will the knowledge base name influence the retrieval?
Will the knowledge base name influence the retrieval?
What happens if a source fails to process?
What happens if a source fails to process?
What happens if an auto-refresh can't finish?
What happens if an auto-refresh can't finish?
What does the Knowledge Base Instruction (focus areas) setting do?
What does the Knowledge Base Instruction (focus areas) setting do?
Pricing
- Knowledge base creation:
- First 10 knowledge bases are free.
- Additional ones are billed at $8 / month per knowledge base.
- Using knowledge base:
- $0.005 per minute of calls that have knowledge base enabled.
- It does not matter if your agent is using 1 or many knowledge bases, the billing is the same.